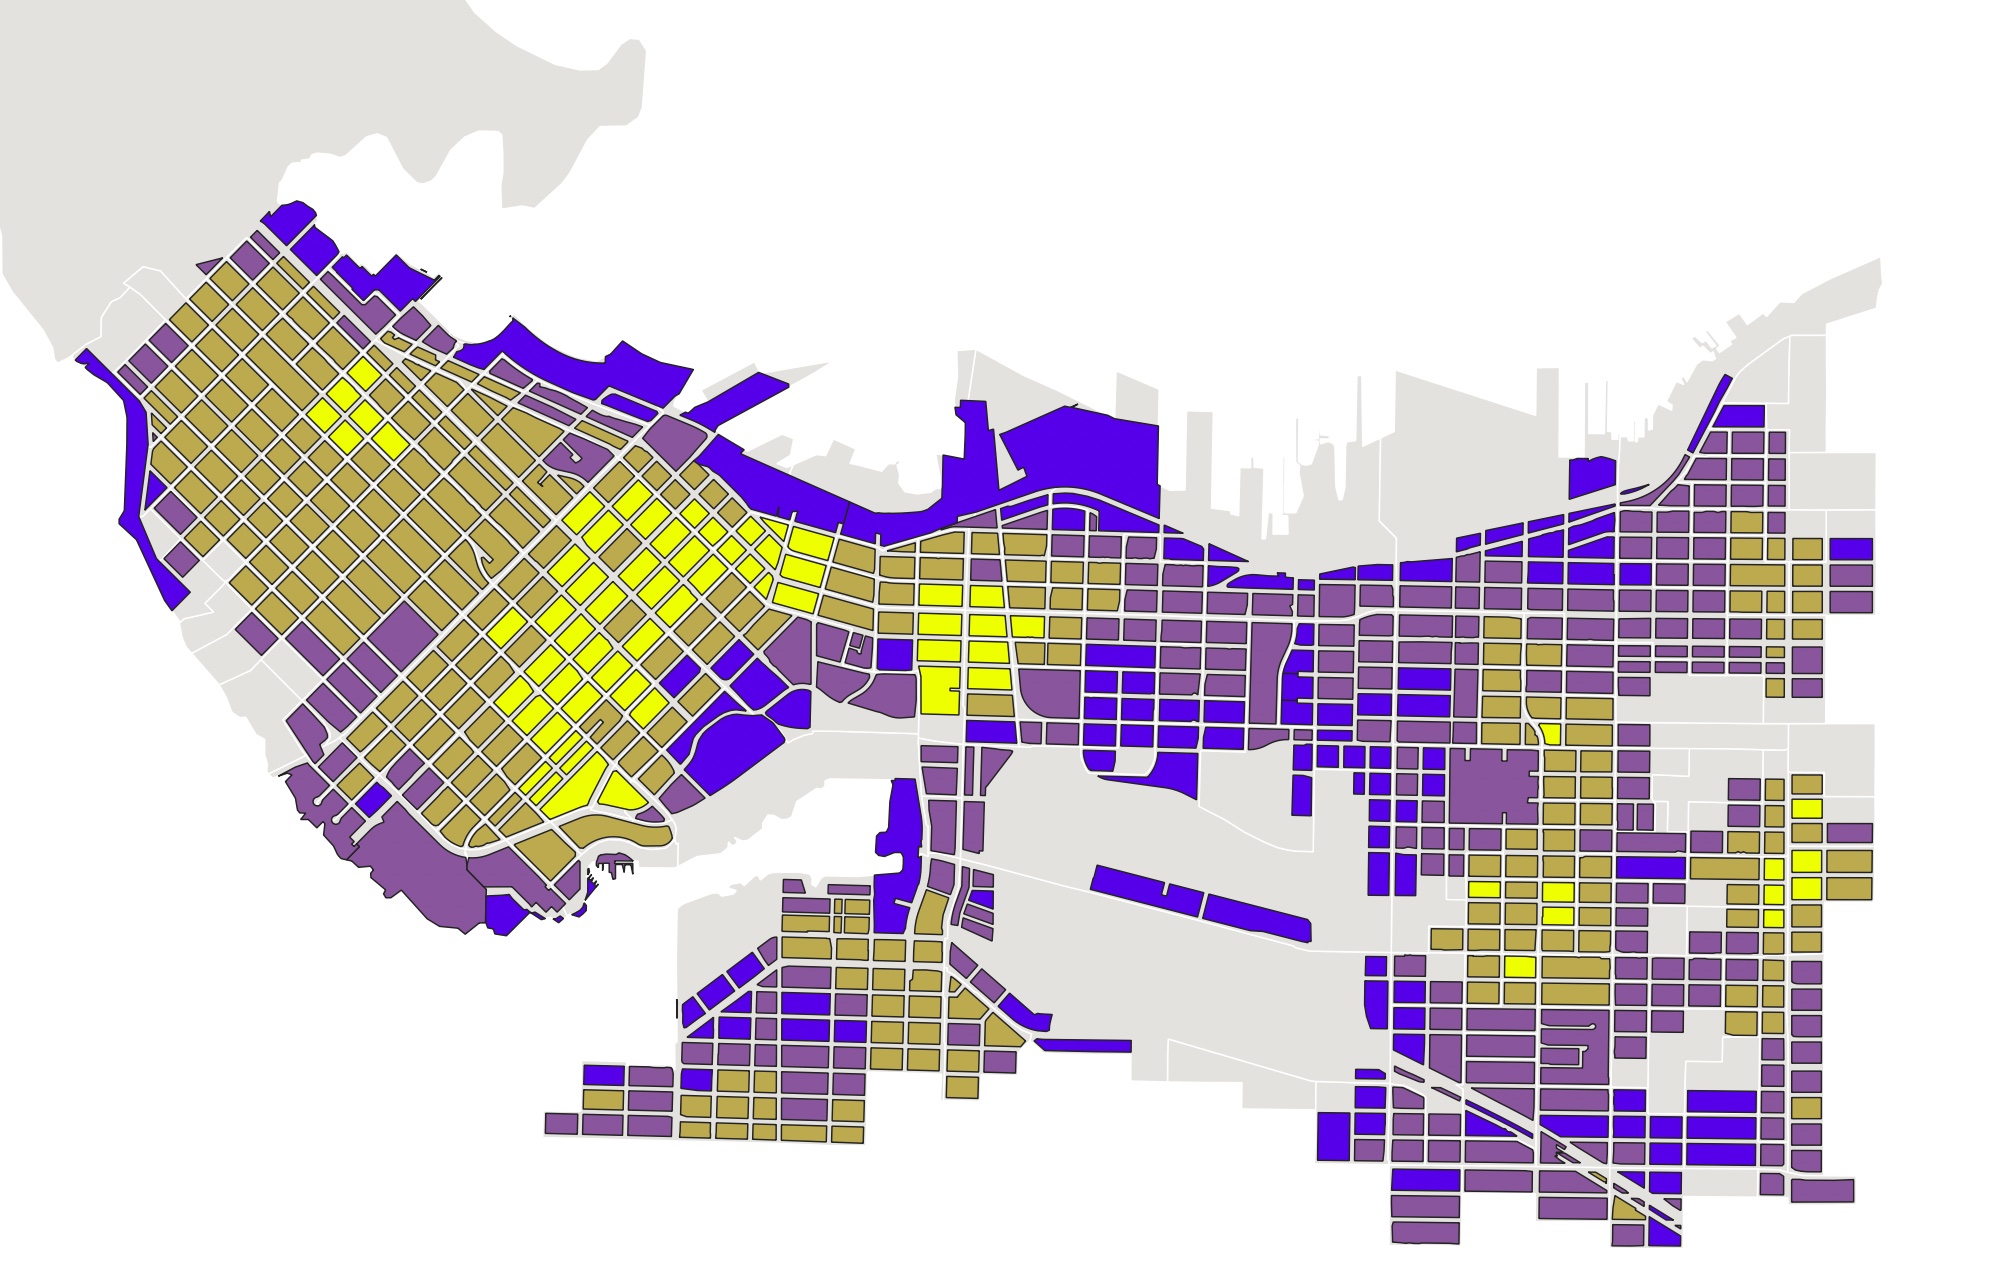
Visualize Walkability Index
The final step of this workshop is to display the walkability index using a graduated color scheme.
- Open the Symbology of walkability-index
- From the upper bar, change symbology from Single symbol to Graduated
- Choose walkability for the value and click Classify to run the classification
- Then, click Apply and drag the dialogue box to the side in order to see the results rendered on the map canvas
Try different color ramps and classification modes. Experiment by increasing or decreasing the number of classes and even making your own custom color ramp. Here is one possible visualization…

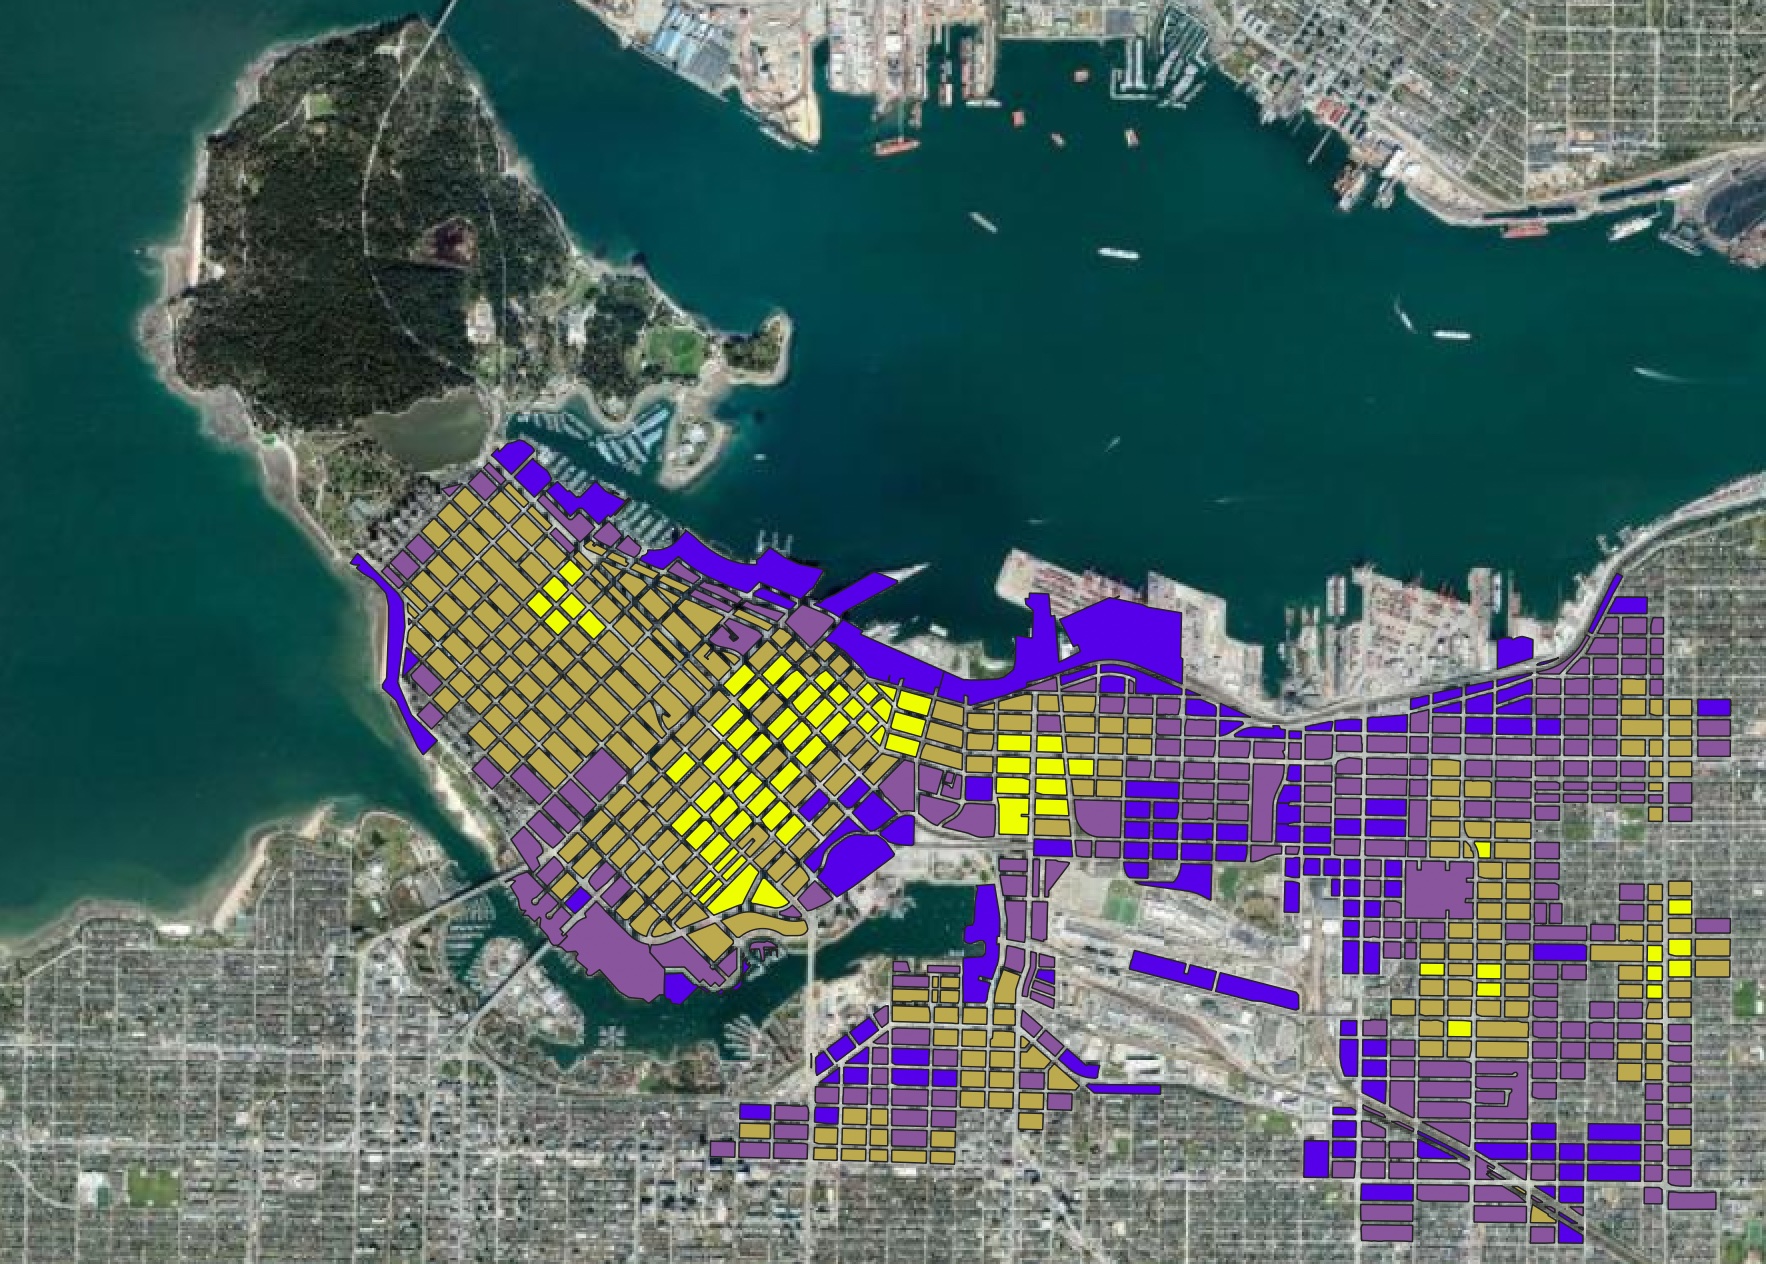
Add Basemap
Even though Vancouver currently appears to be floating in a sea of white, your shapefiles is georeferenced meaning QGIS knows where on Earth Vancouver is. Adding a basemap helps give your map spatial context. There are many ways to go about this.
To add a tile layer from a web server:
- Open file browser and add a new XYZ Tiles connection
- Name: ESRI Satellite
- URL:
https://server.arcgisonline.com/ArcGIS/rest/services/World_Imagery/MapServer/tile/{z}/{y}/{x}
- Click OK and return to the browser dialogue. Select your new ESRI Satellite tile connection from the drop down menu and click Add at the bottom
- Return to your map canvas. You should now see a basemap. Drag the ESRI Satellite layer underneath your walkability index
OPTIONAL: Add basemap from web plugin
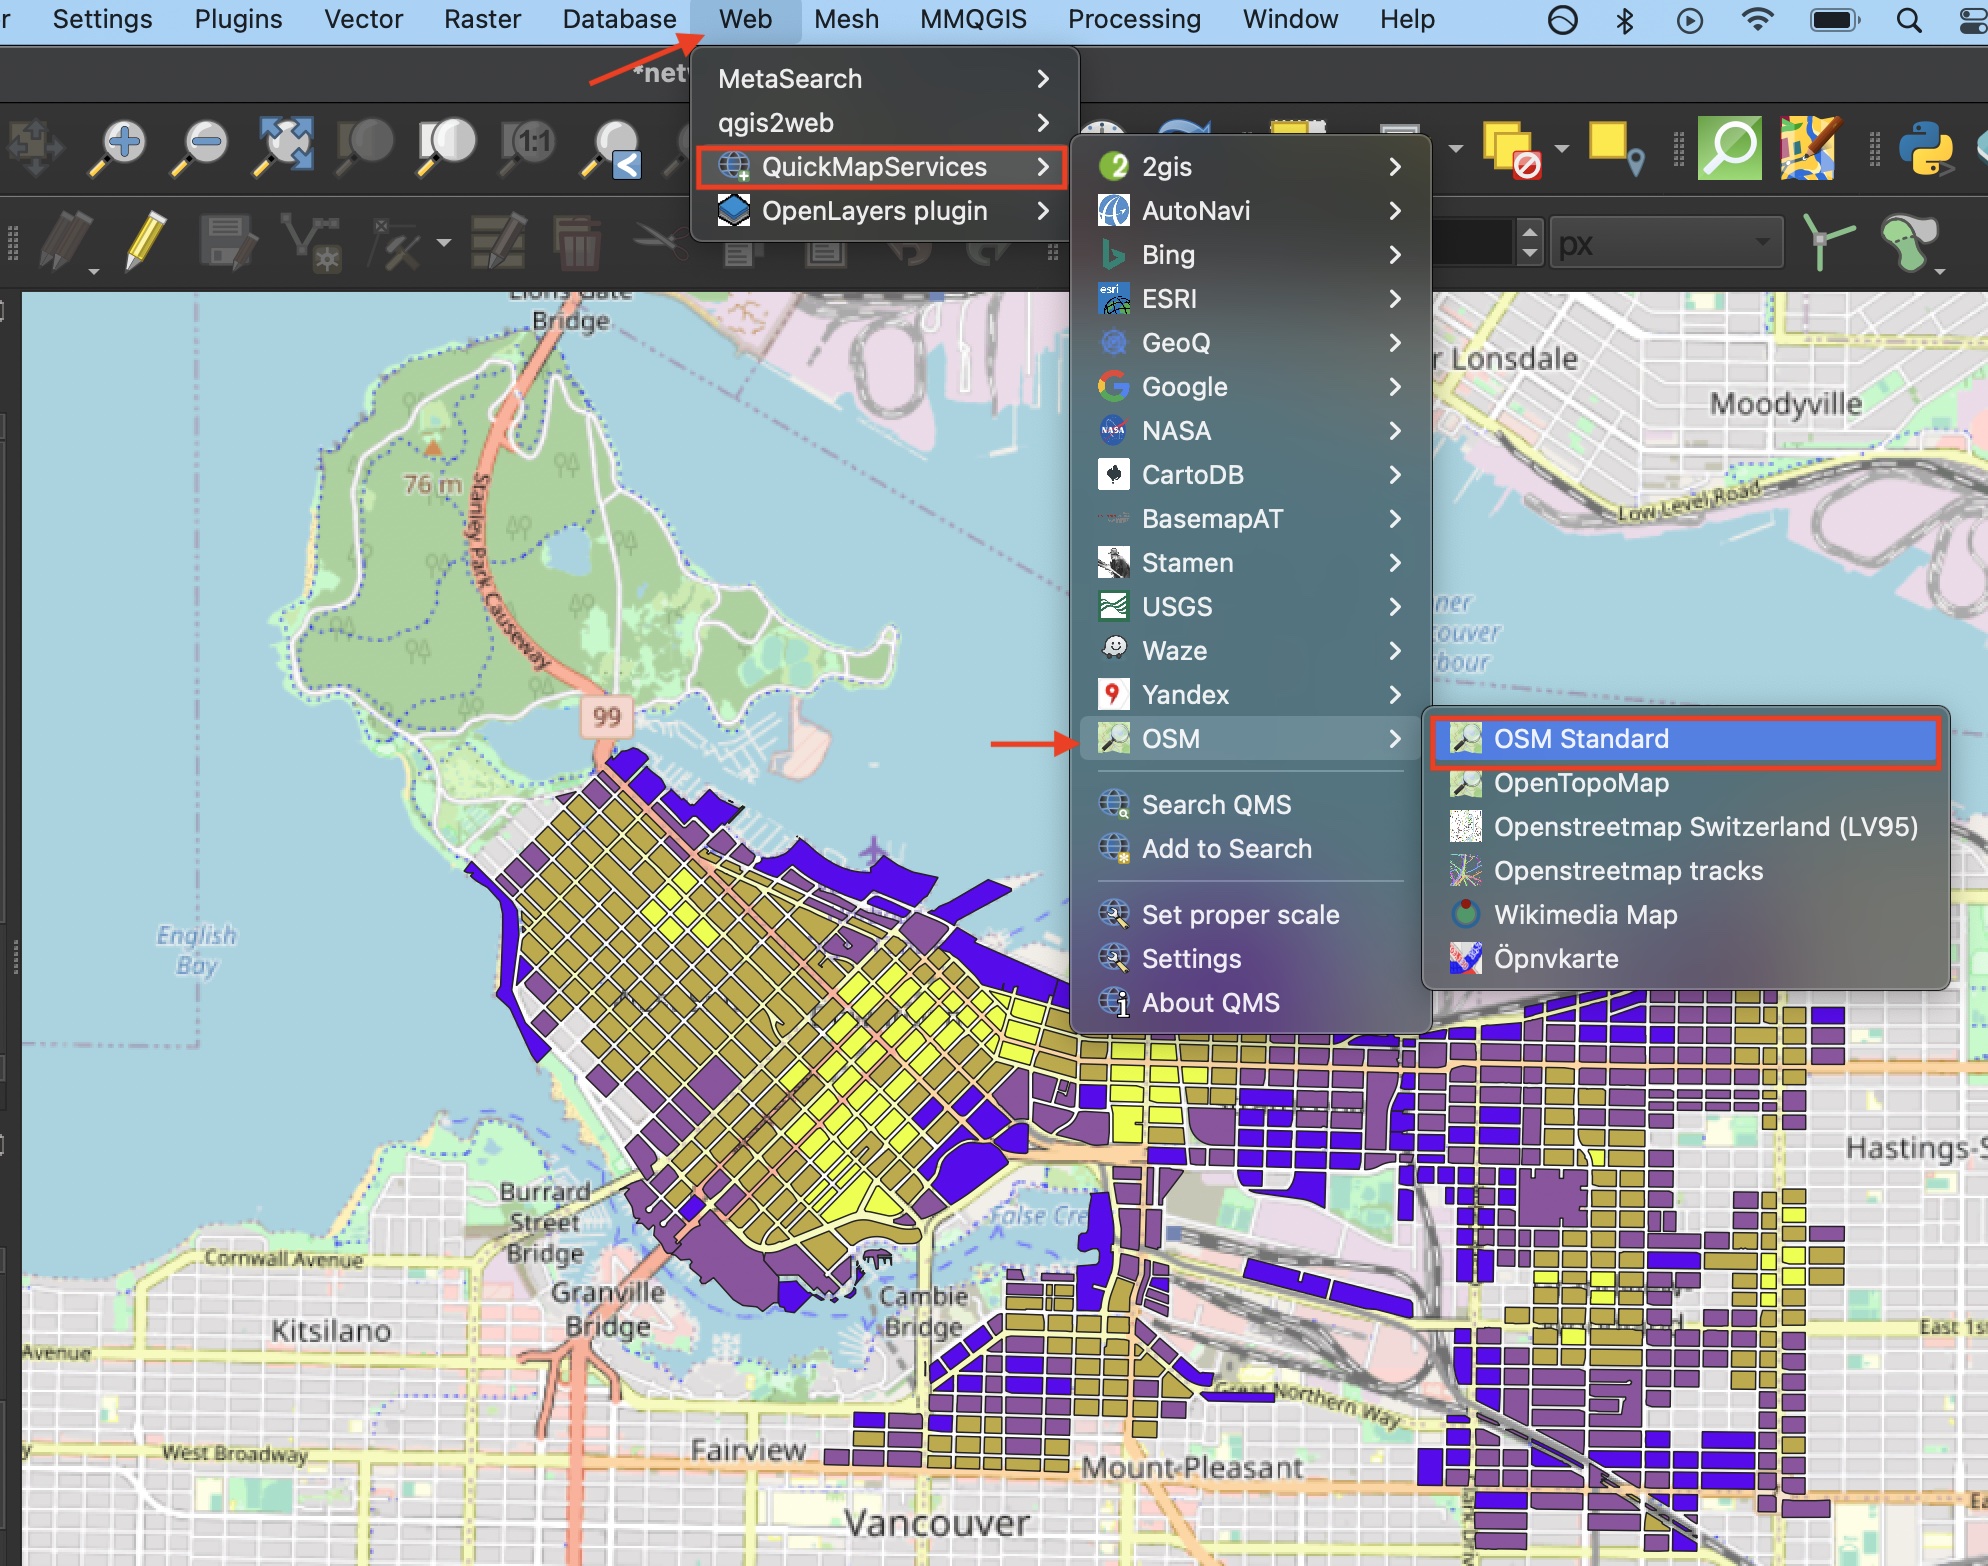
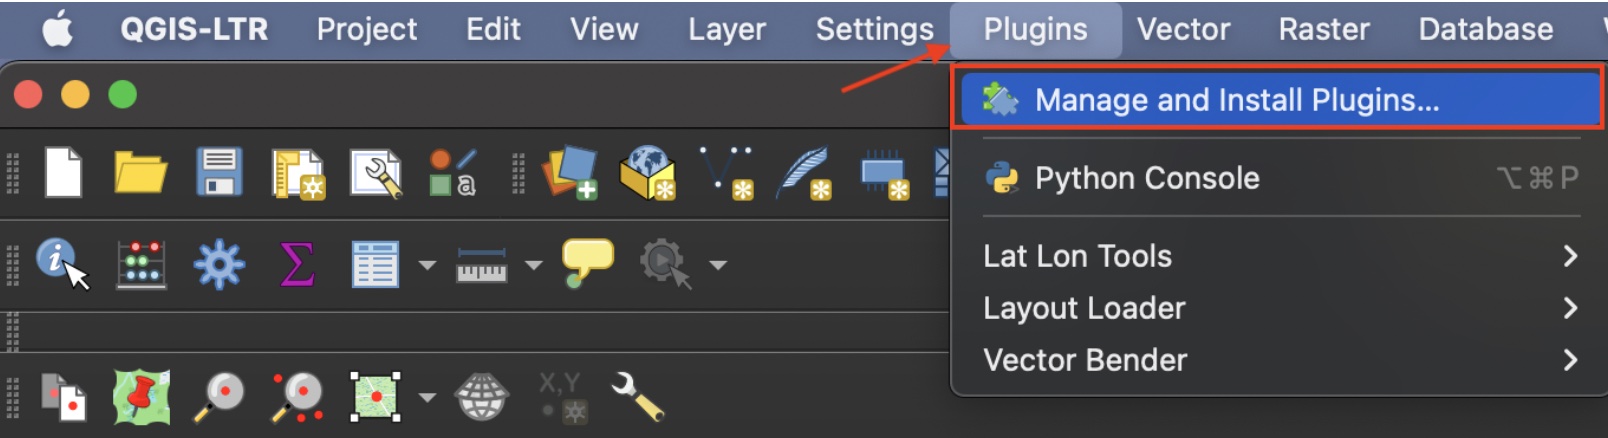
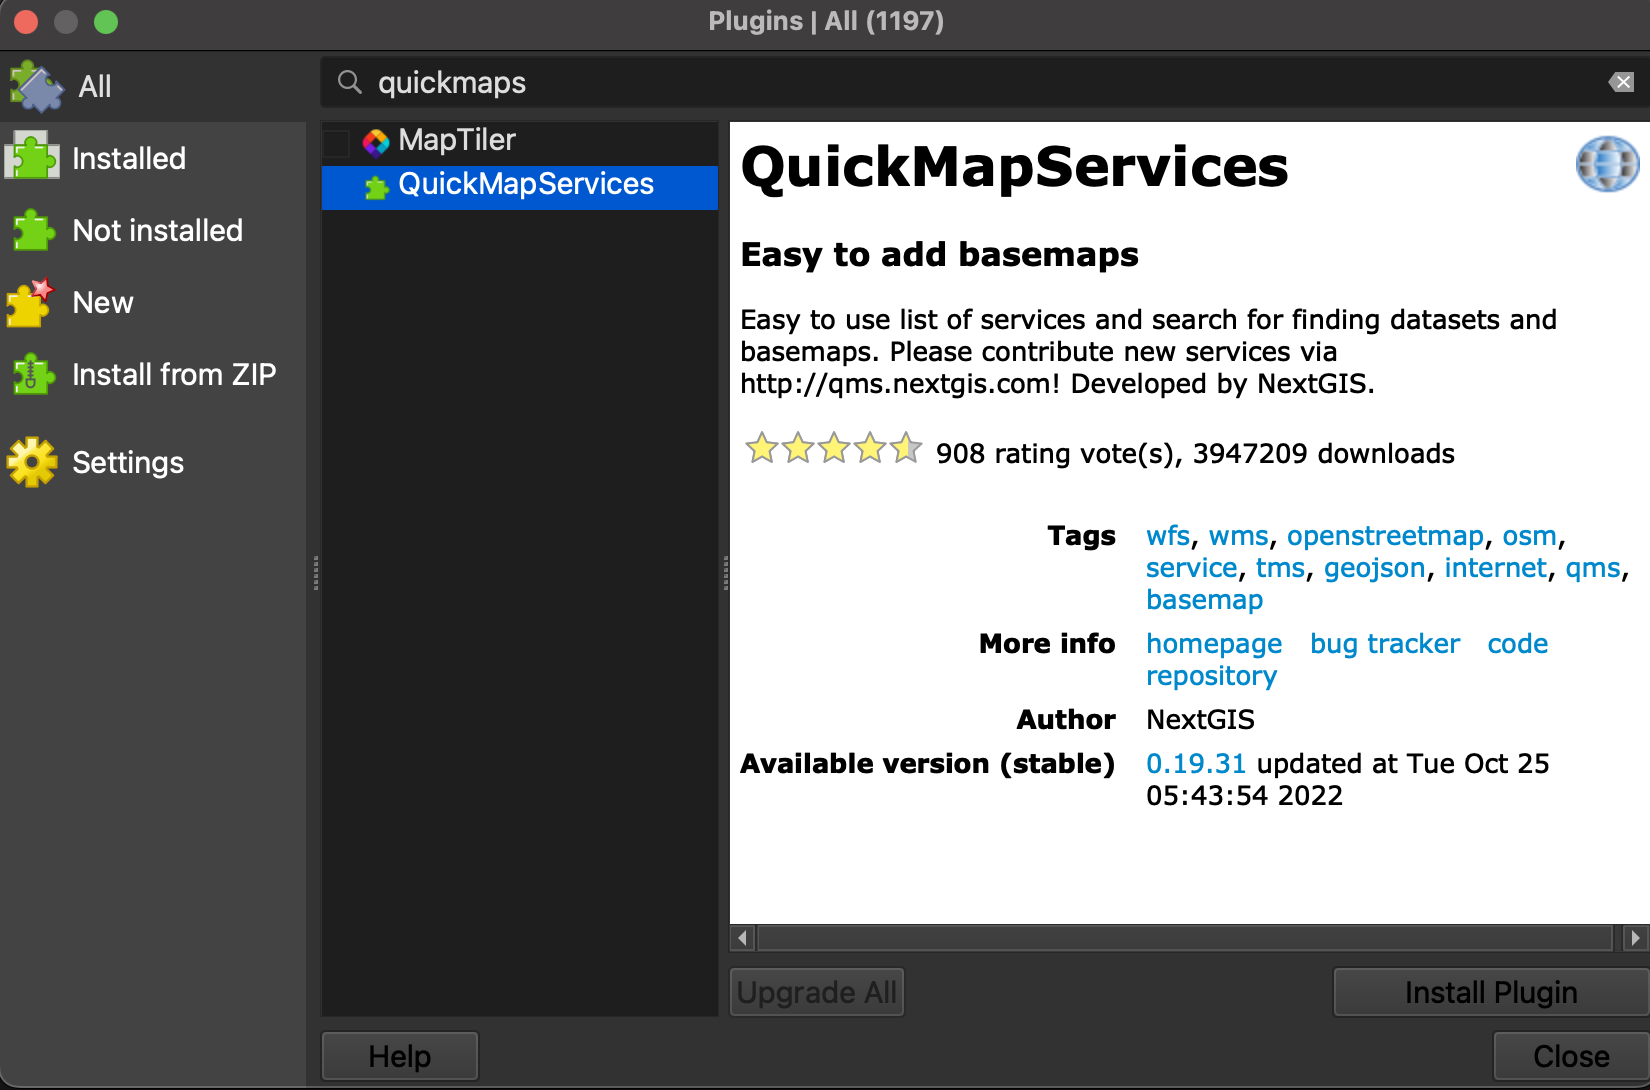
Another way to add a basemap is through a plugin. This will connect access to a host of different basemaps you can search directly from the QGIS interface. QGIS plugins are user developed tools that extend QGIS functionality beyond the basics. To access basemaps, we’ll first install the QuickMapServices plugin. Click on the Plugin menu at the top of your screen and select Manage and Install Plugins…
In the dialogue box that opens, select All as a search category on the left and type “QuickMapServices” as one word. Install the plugin and close the dialogue box.
Add Basemap
Now go to the Web menu at the top of your screen. You should see the QuickMapServices plugin. Hover over it and click “Settings” at the bottom of the menu that pops up. In the settings dialogue box go to the “More services” tab and click “Get contributed pack.” Click save to close settings and return to the Web menu. This time when you hover over the QuickMapServices plugin you will see an array of basemap options. Select OpenStreetMap as your basemap. Make sure to drag your basemap to the bottom in your Layers Panel. Remove the basemap at anytime by right clicking the layer and selecting “remove.” Like QGIS, Open Street Map (OSM) is open source and user developed. If you find web-based maps interesting, check out the Research Commons’ Leaflet Workshop!