Project Setup
This first page of the Project Setup section demonstrates how to open & save a QGIS project as well as navigate the QGIS interface. The sub-pages that follow will guide you through adding data to your QGIS project.
Open & Save a new QGIS project
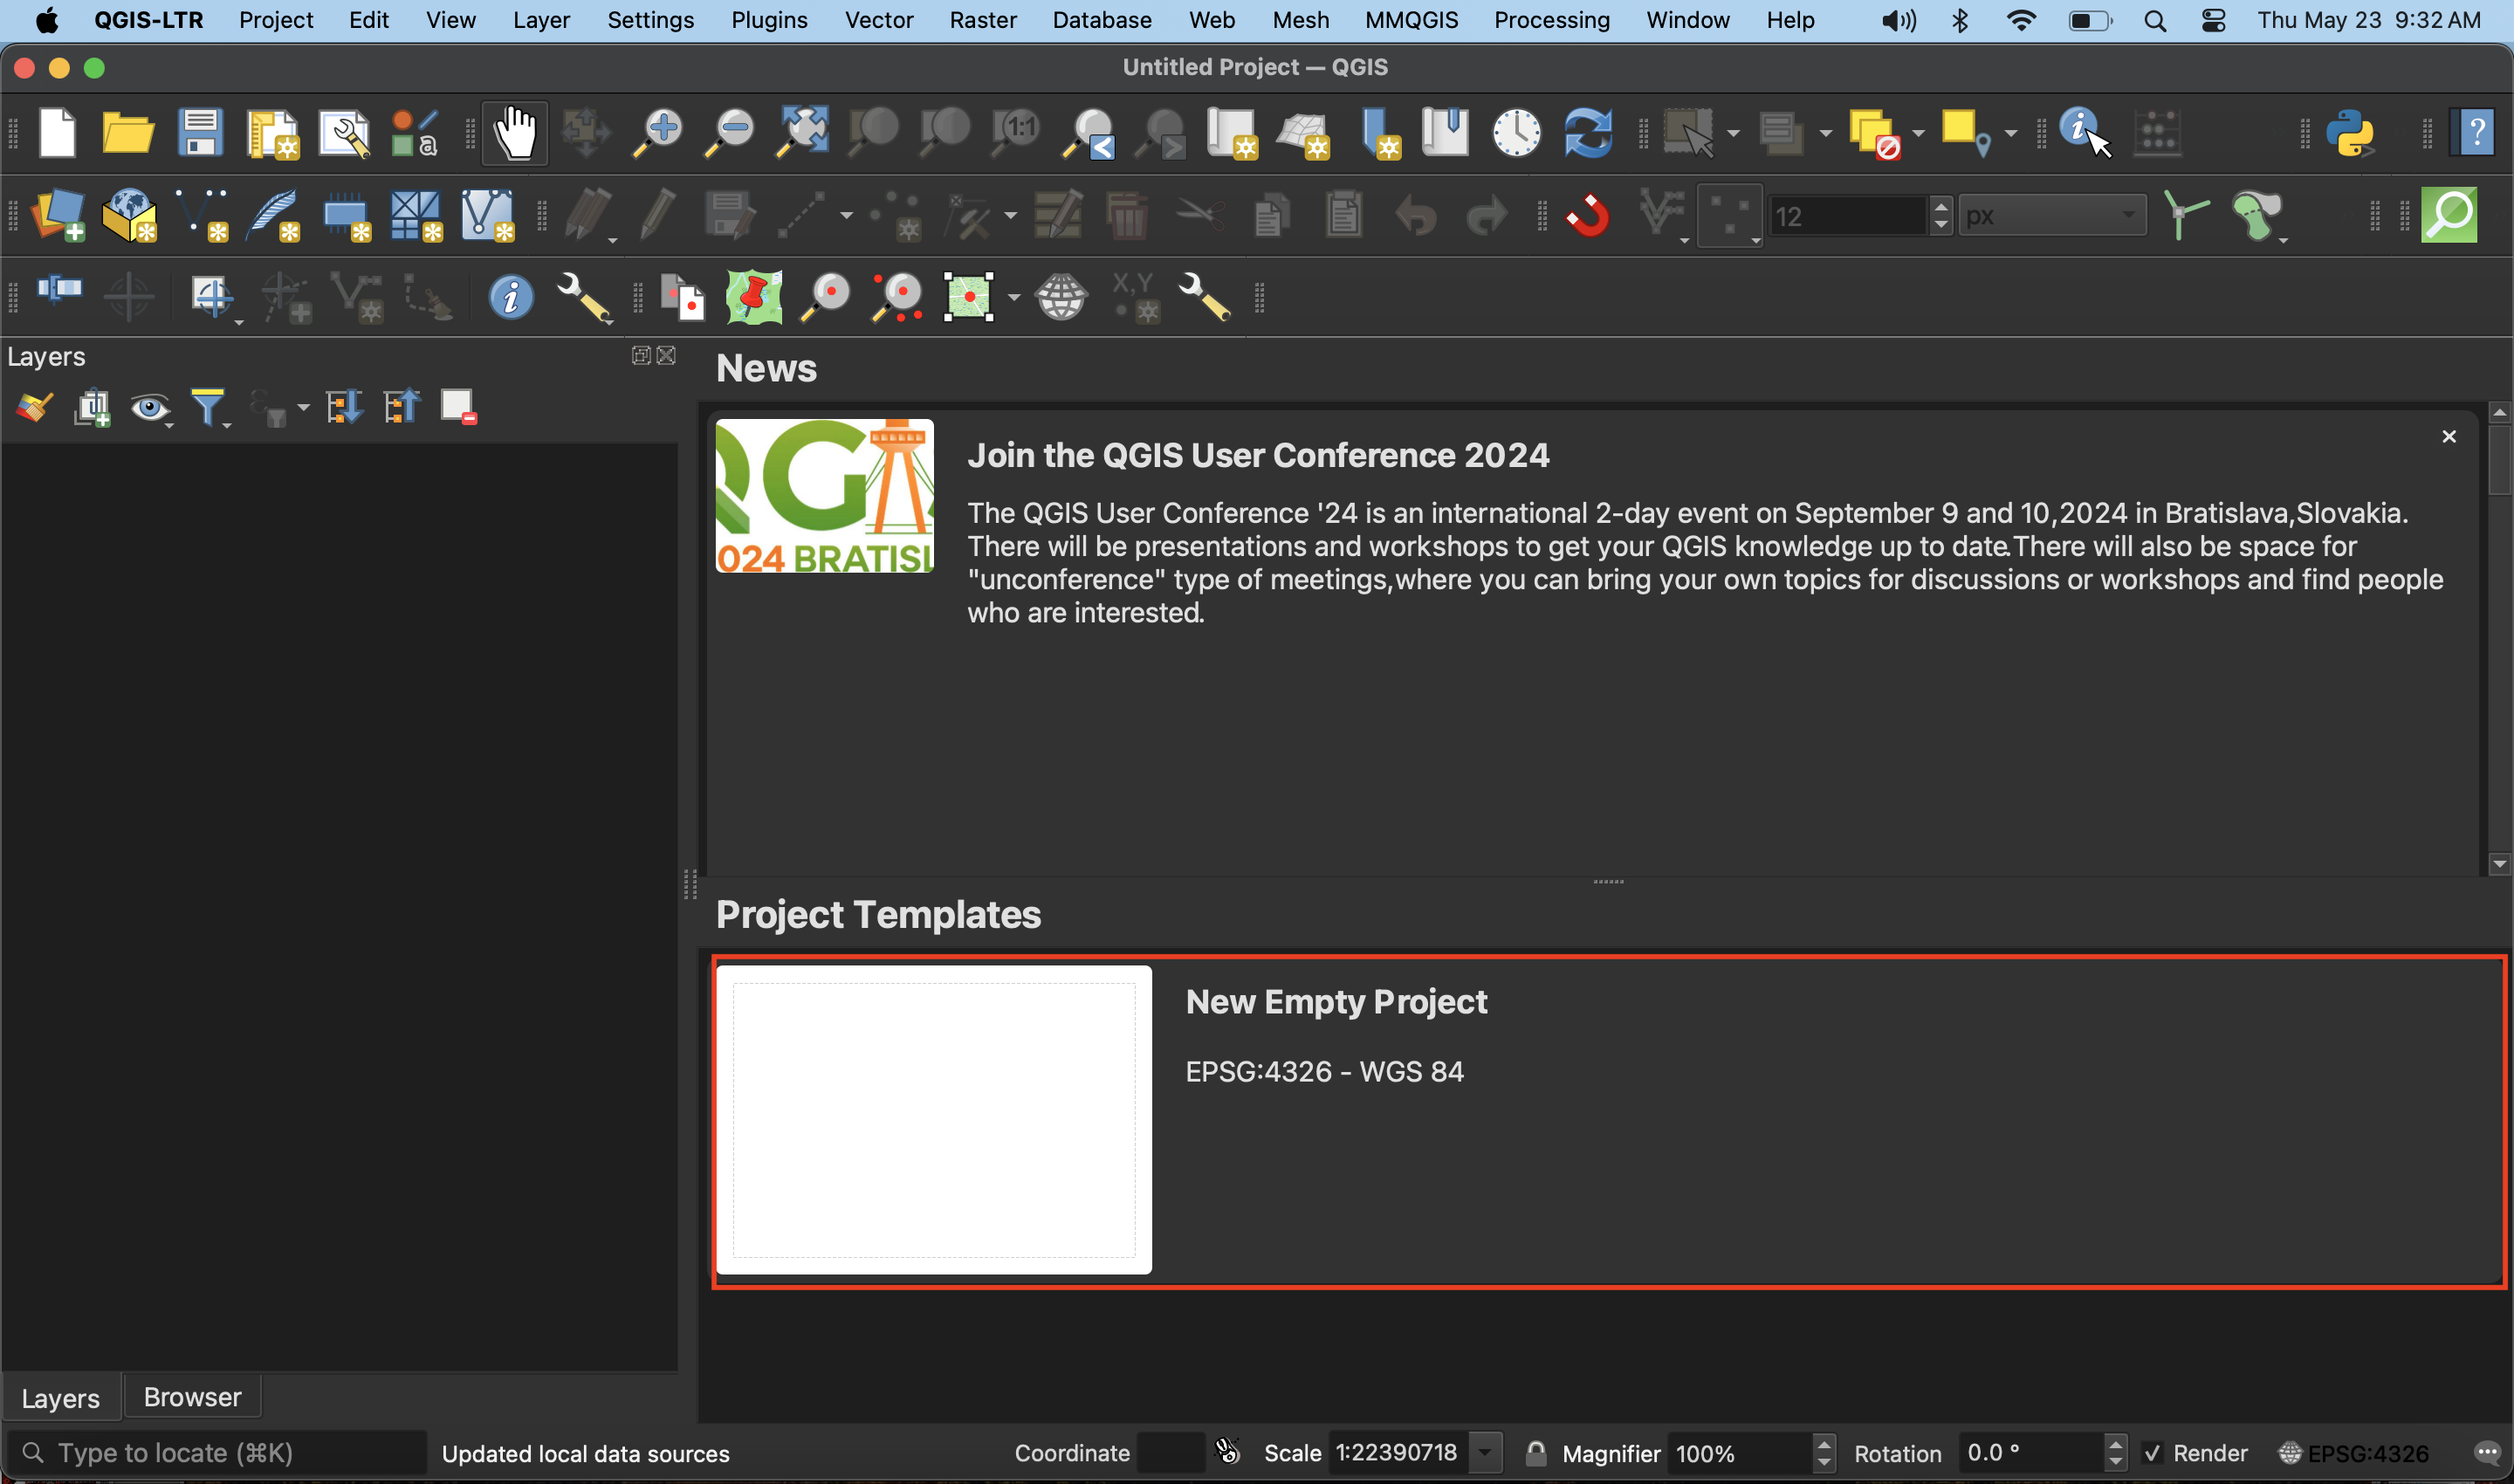
After downloading and installing QGIS-LTR, launch the QGIS application from your computer. When the application opens, it will look something like the image below. Double click “New Empty Project” to open a new QGIS project.
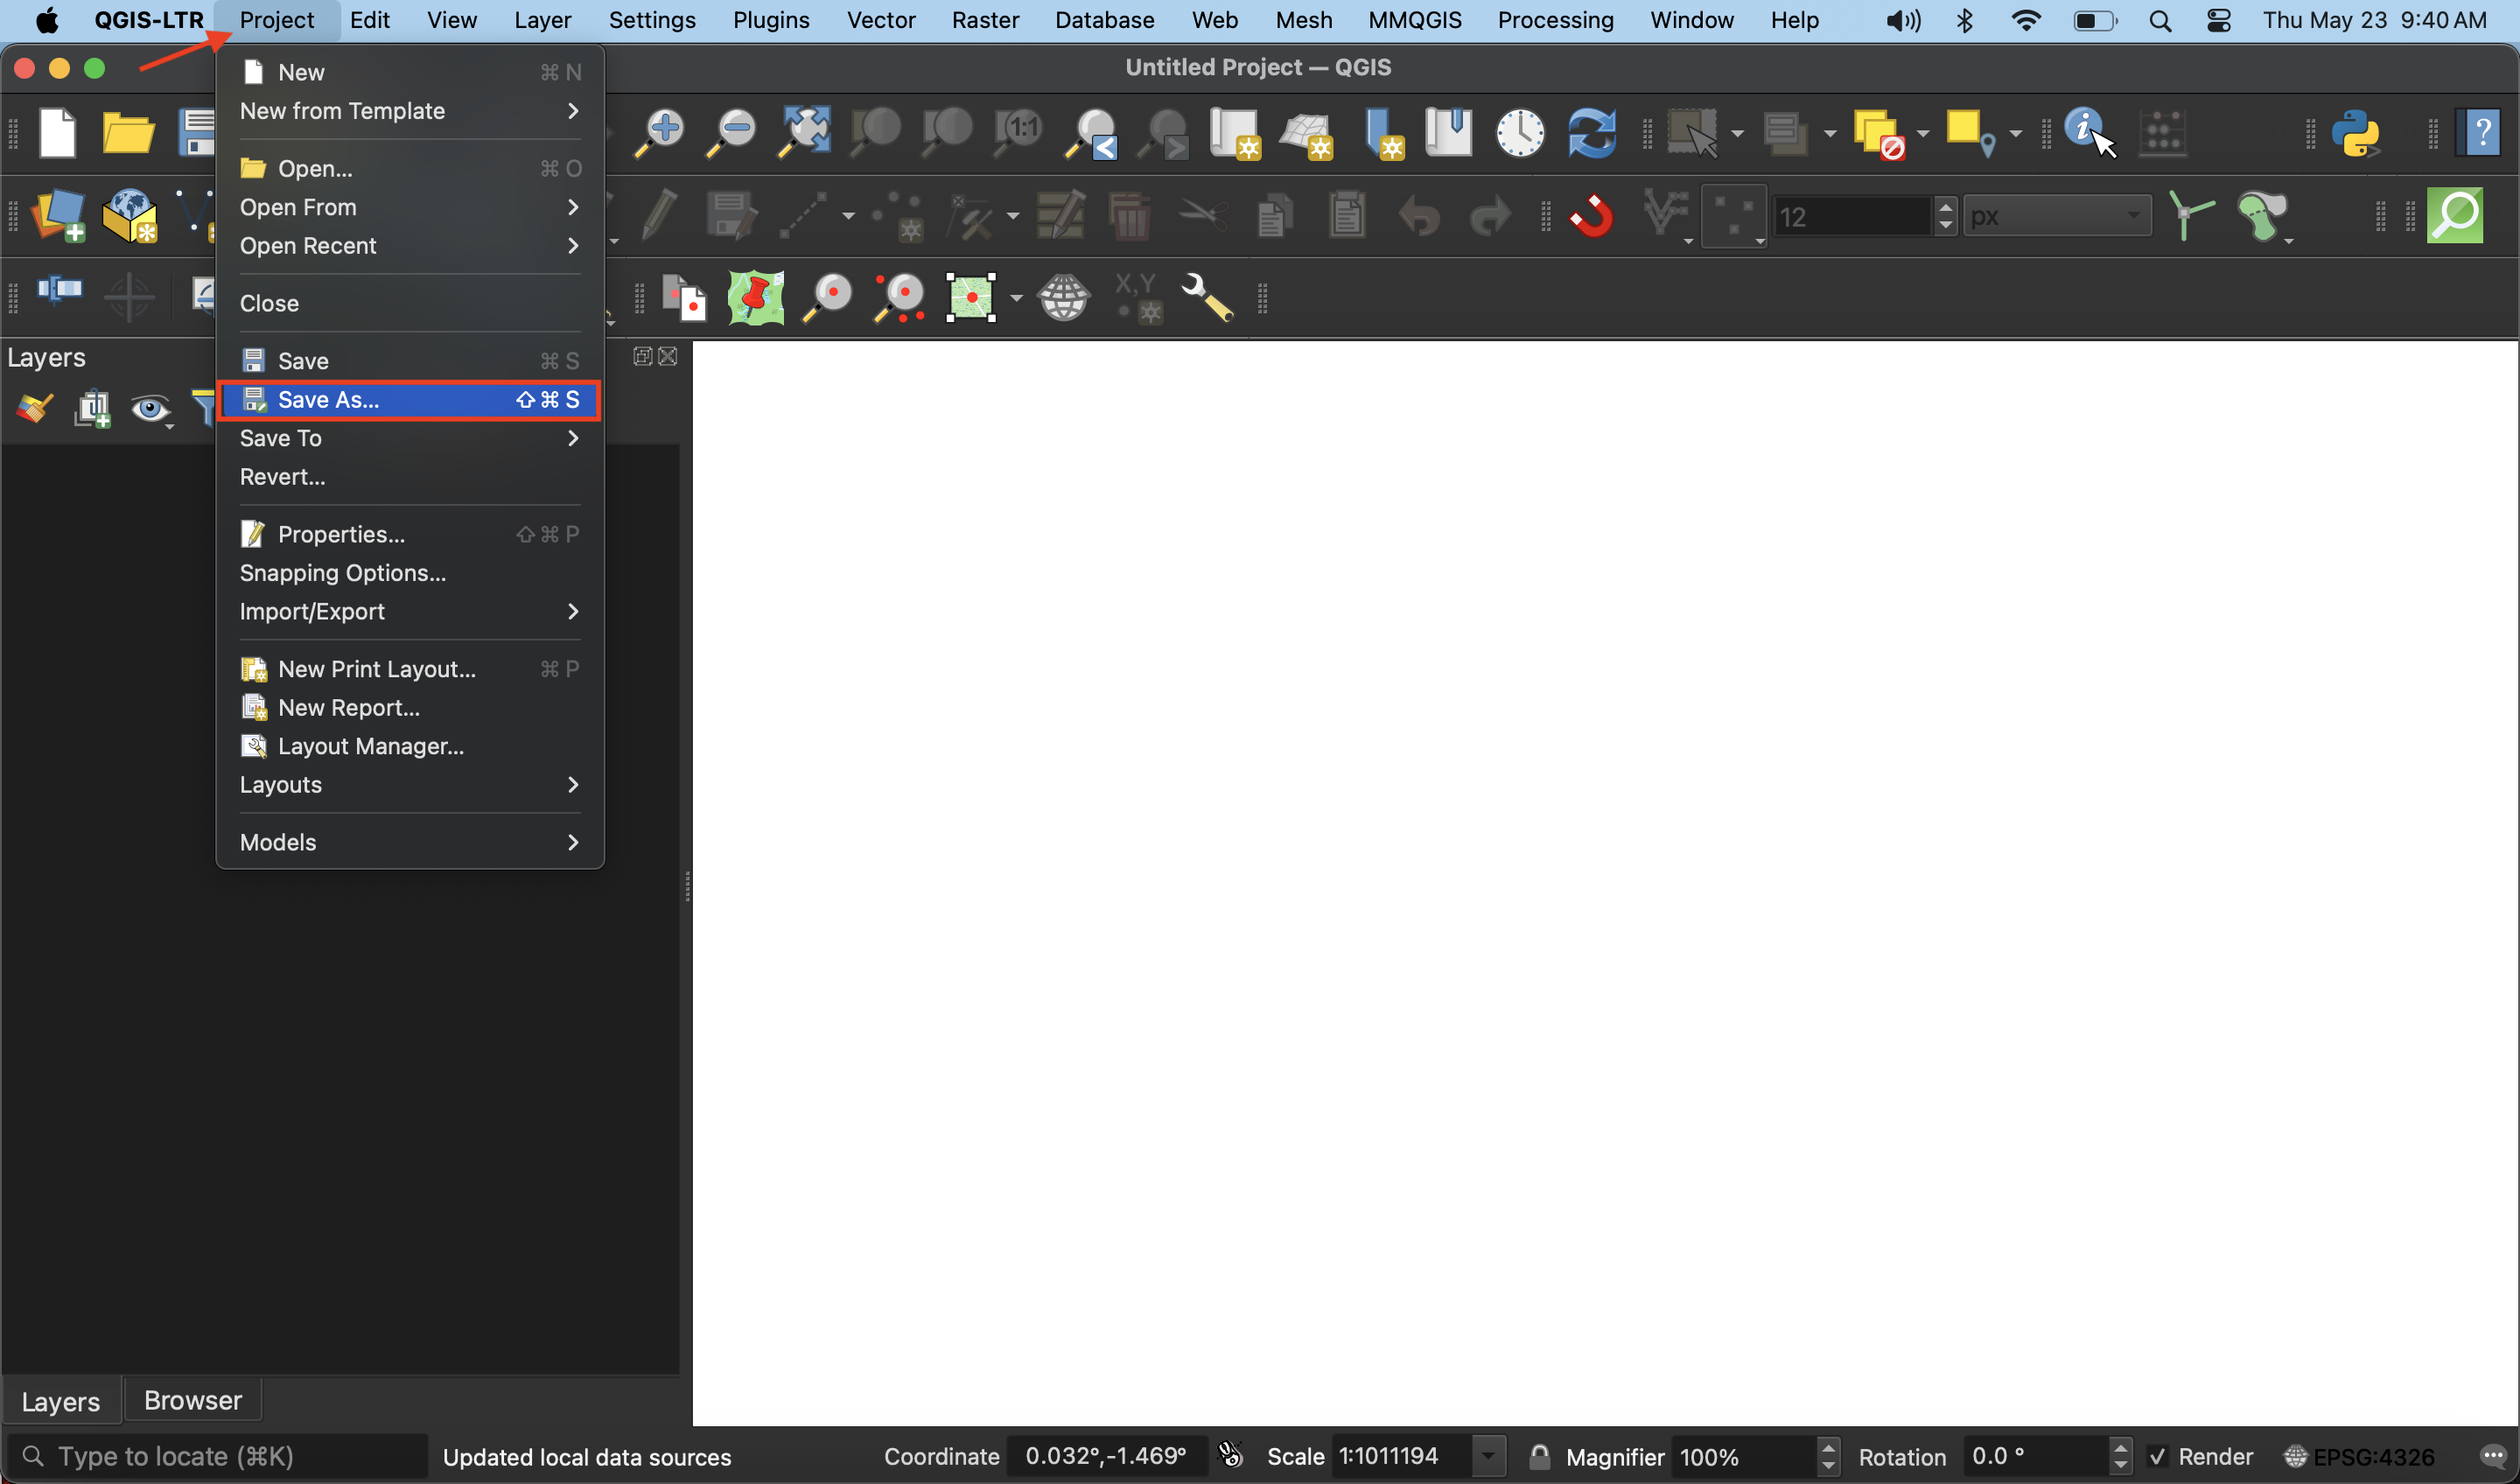
To save your project, navigate to the Project Menu at the stop of your screen and go down to “Save As”. Save the project to a location (like the qgis-workshop folder) and give it a name such as qgis-workshop_FirstnameLastname. It’s best practice to save your QGIS projects to the folder where you keep your data for the project. You’ll notice the file extension is .qgz. Learn more about QGIS file formats here.
Navigate the Graphical User Interface (GUI)
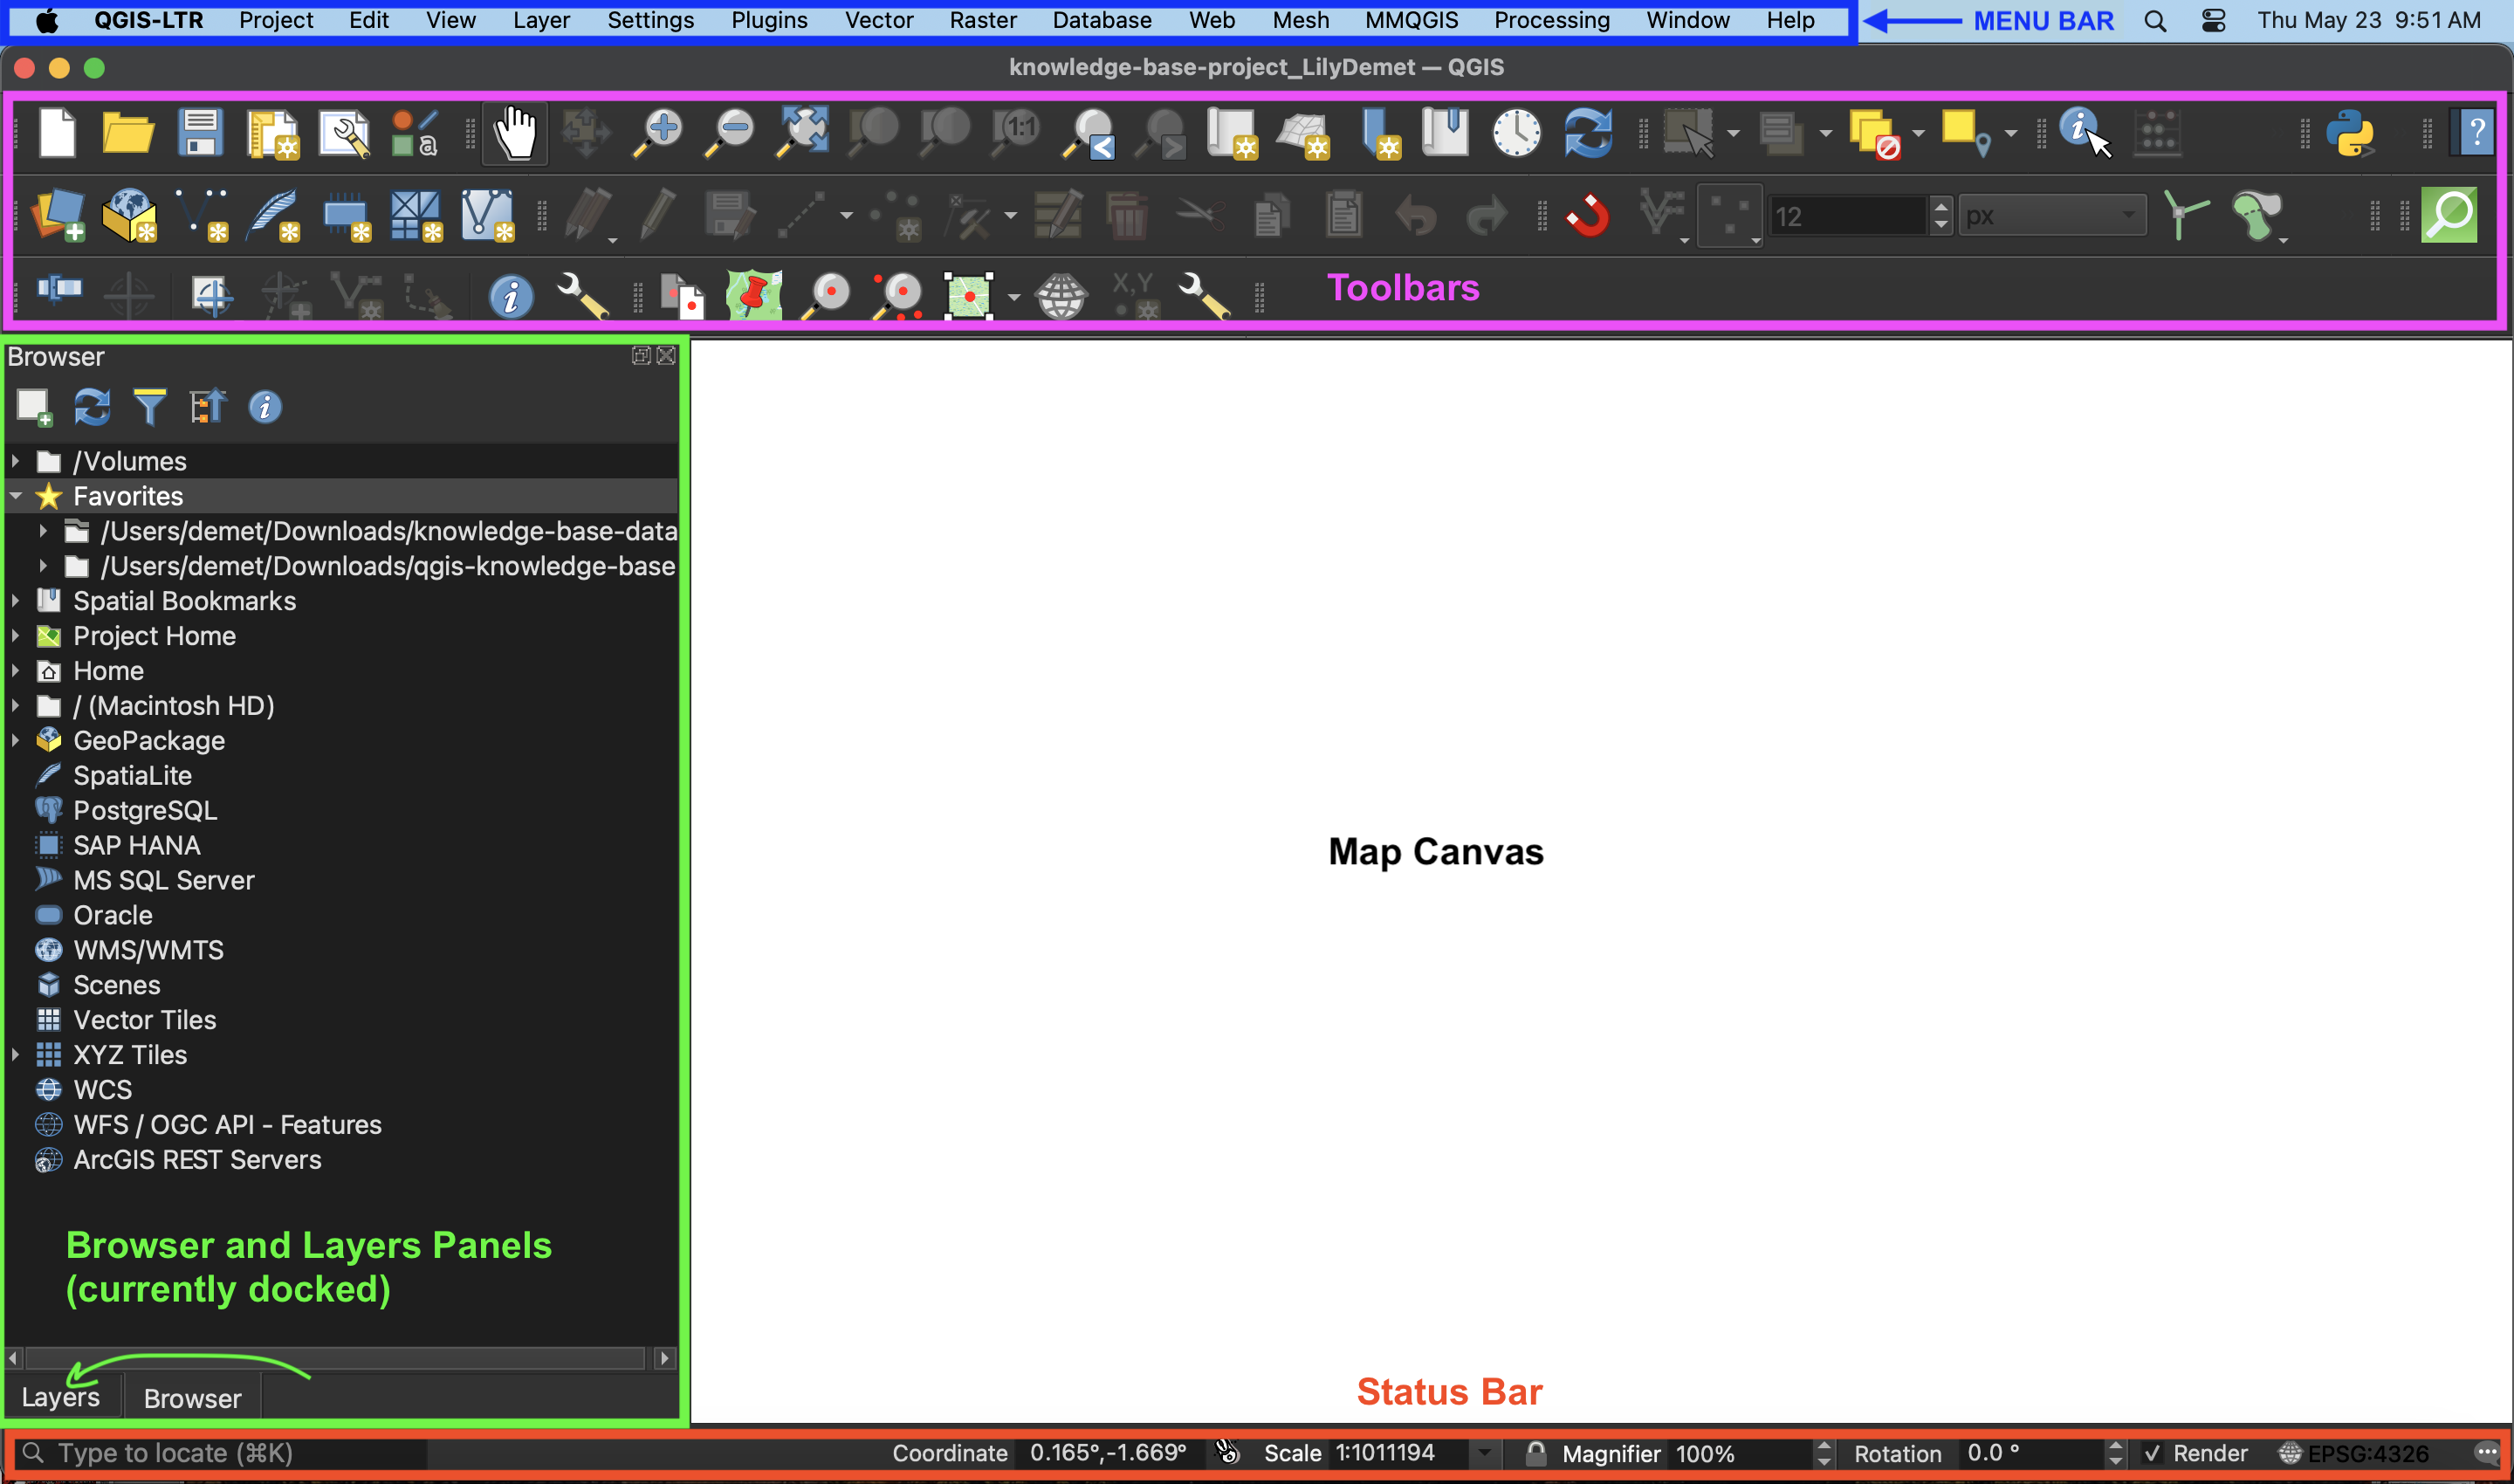
Toolbars - Toolbars are where you will find the most useful geoprocessing, editing, navigation, and other tools. You can customize this area of your GUI to fit your needs.
Browser and Layers Panel - The browser panel lets you easily navigate your file system for data and project files. Your layers panel displays your project’s data layers and provides access to configuration settings. Show and Hide Panels by going to the “View” Menu at the top of your screen and going down to the Panels or Toolbars submenu. Alternatively, you can right-click (control-click) any of the blank space on the Toolbar to see what Tools and Panels are currently active.
Status Bar - The status bar displays current information about the map canvas, and allows you to make adjustments in the map’s scale and rotation.
Map Canvas or Map View - Call it either one. This is where the map is displayed as layers are loaded. You can zoom/pan the map canvas as well as select features and other operations.
Project Properties
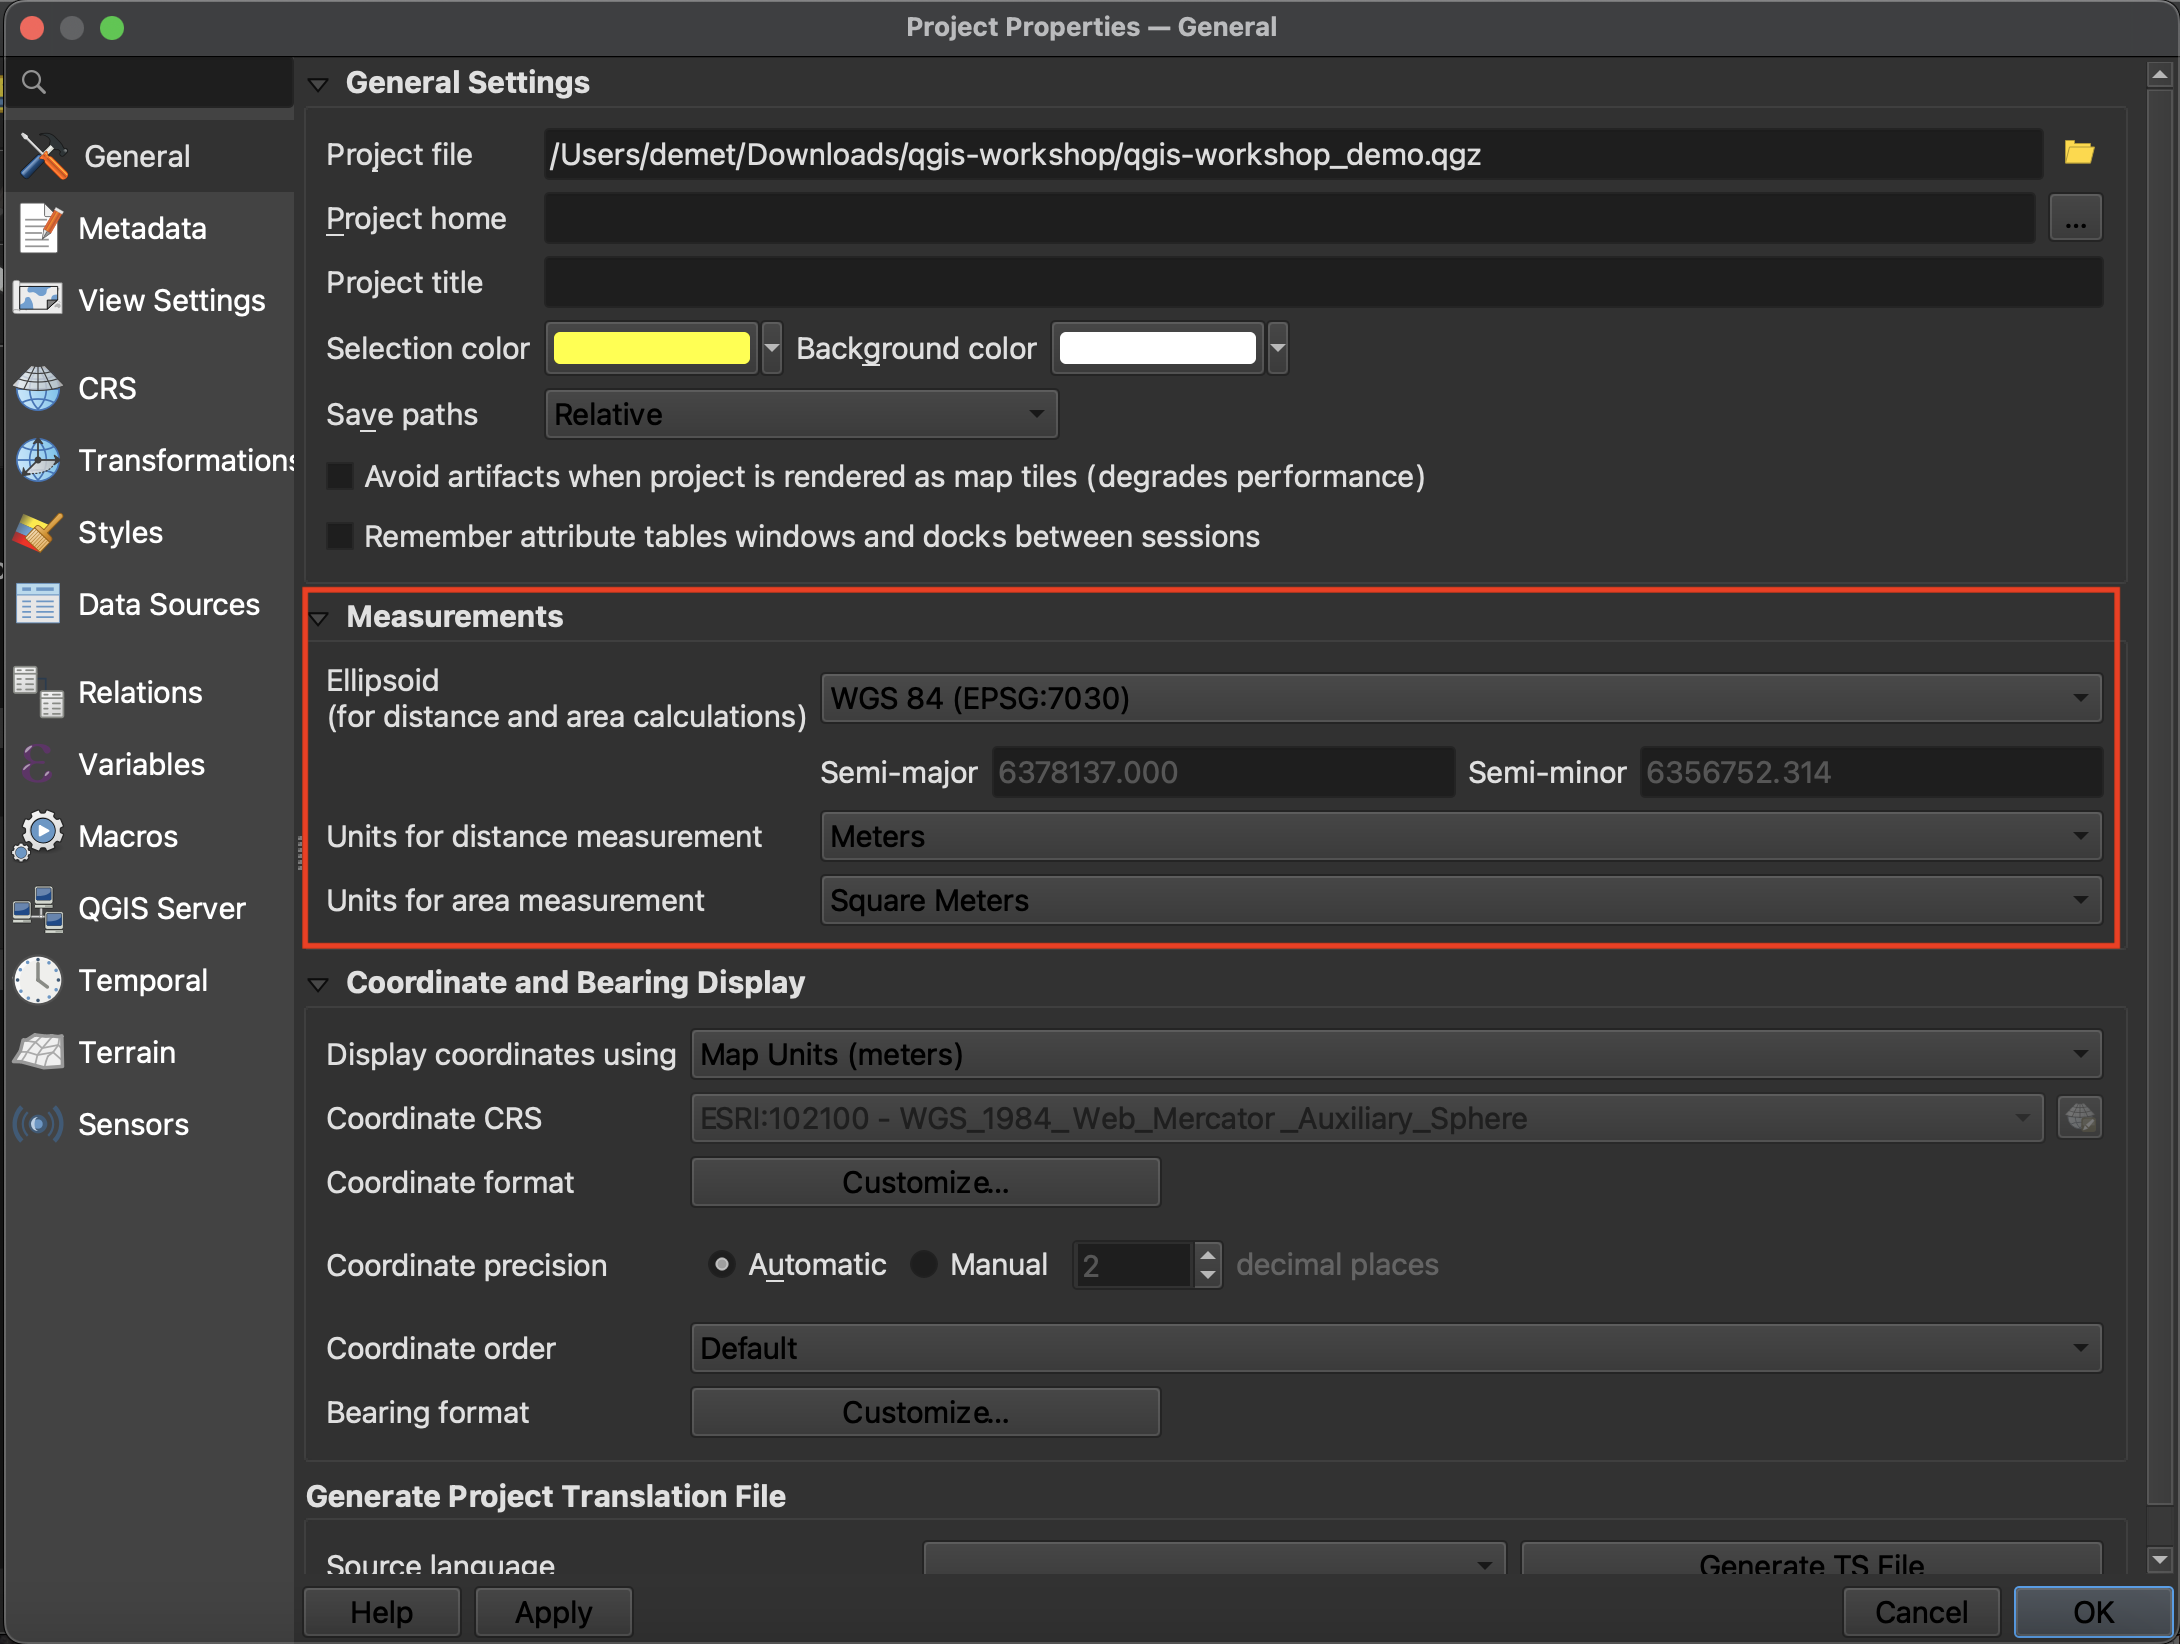
The Project Properties provide useful information about your QGIS project, such as it’s Coordinate Reference System (CRS). Although the different data layers you add to a QGIS project may have different projections, QGIS will reproject everything ‘on the fly’ to match the Project CRS. Setting the project CRS doesn’t change the stored projections of each layer, only how they are rendered by QGIS.
Under General properties, make note of the units for area measurement.
To Do
Under CRS properties, ensure the project coordinate reference system (CRS) is set to WGS_1984_Web_Mercator_Auxiliary_Sphere.

Interface Preferences
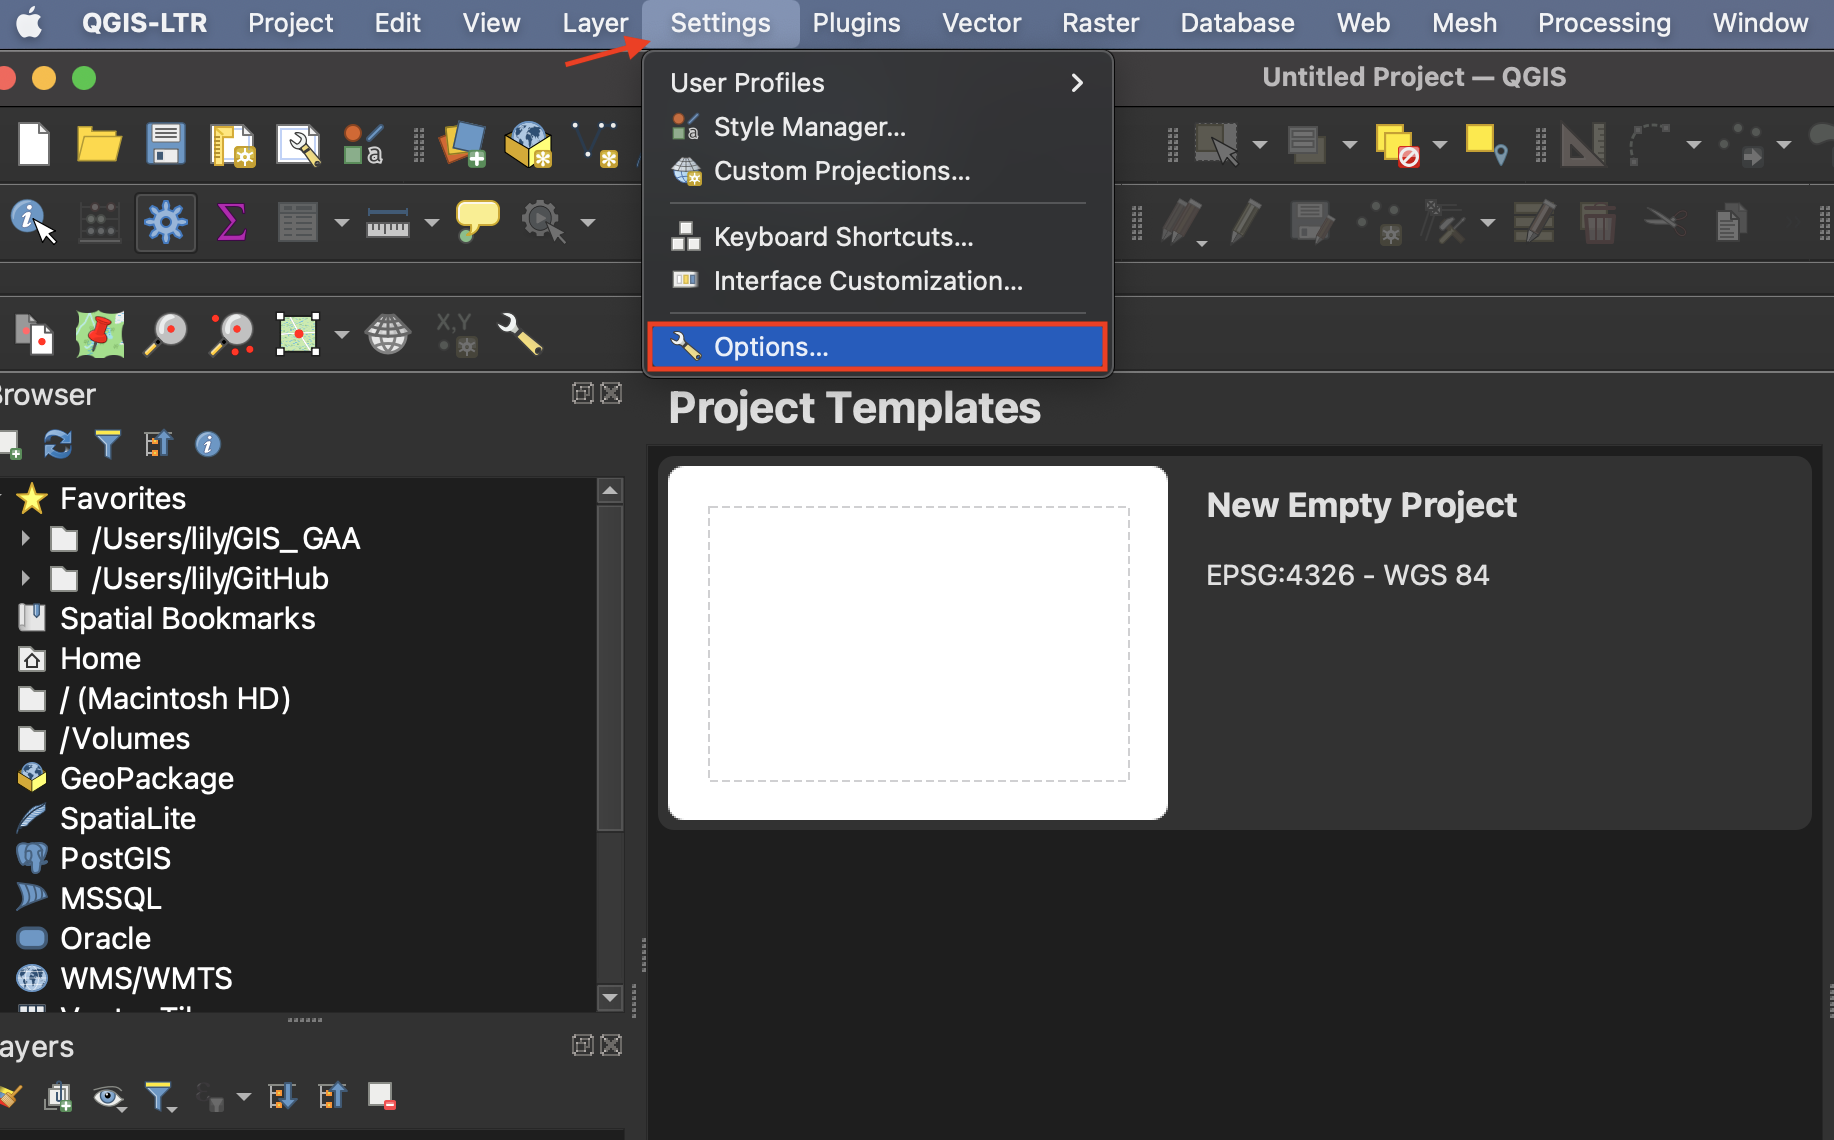
You can change the look and feel of your GUI (e.g. light or dark view), as well as adjust default settings from QGIS-LTR –> Preferences or Settings –> Options.
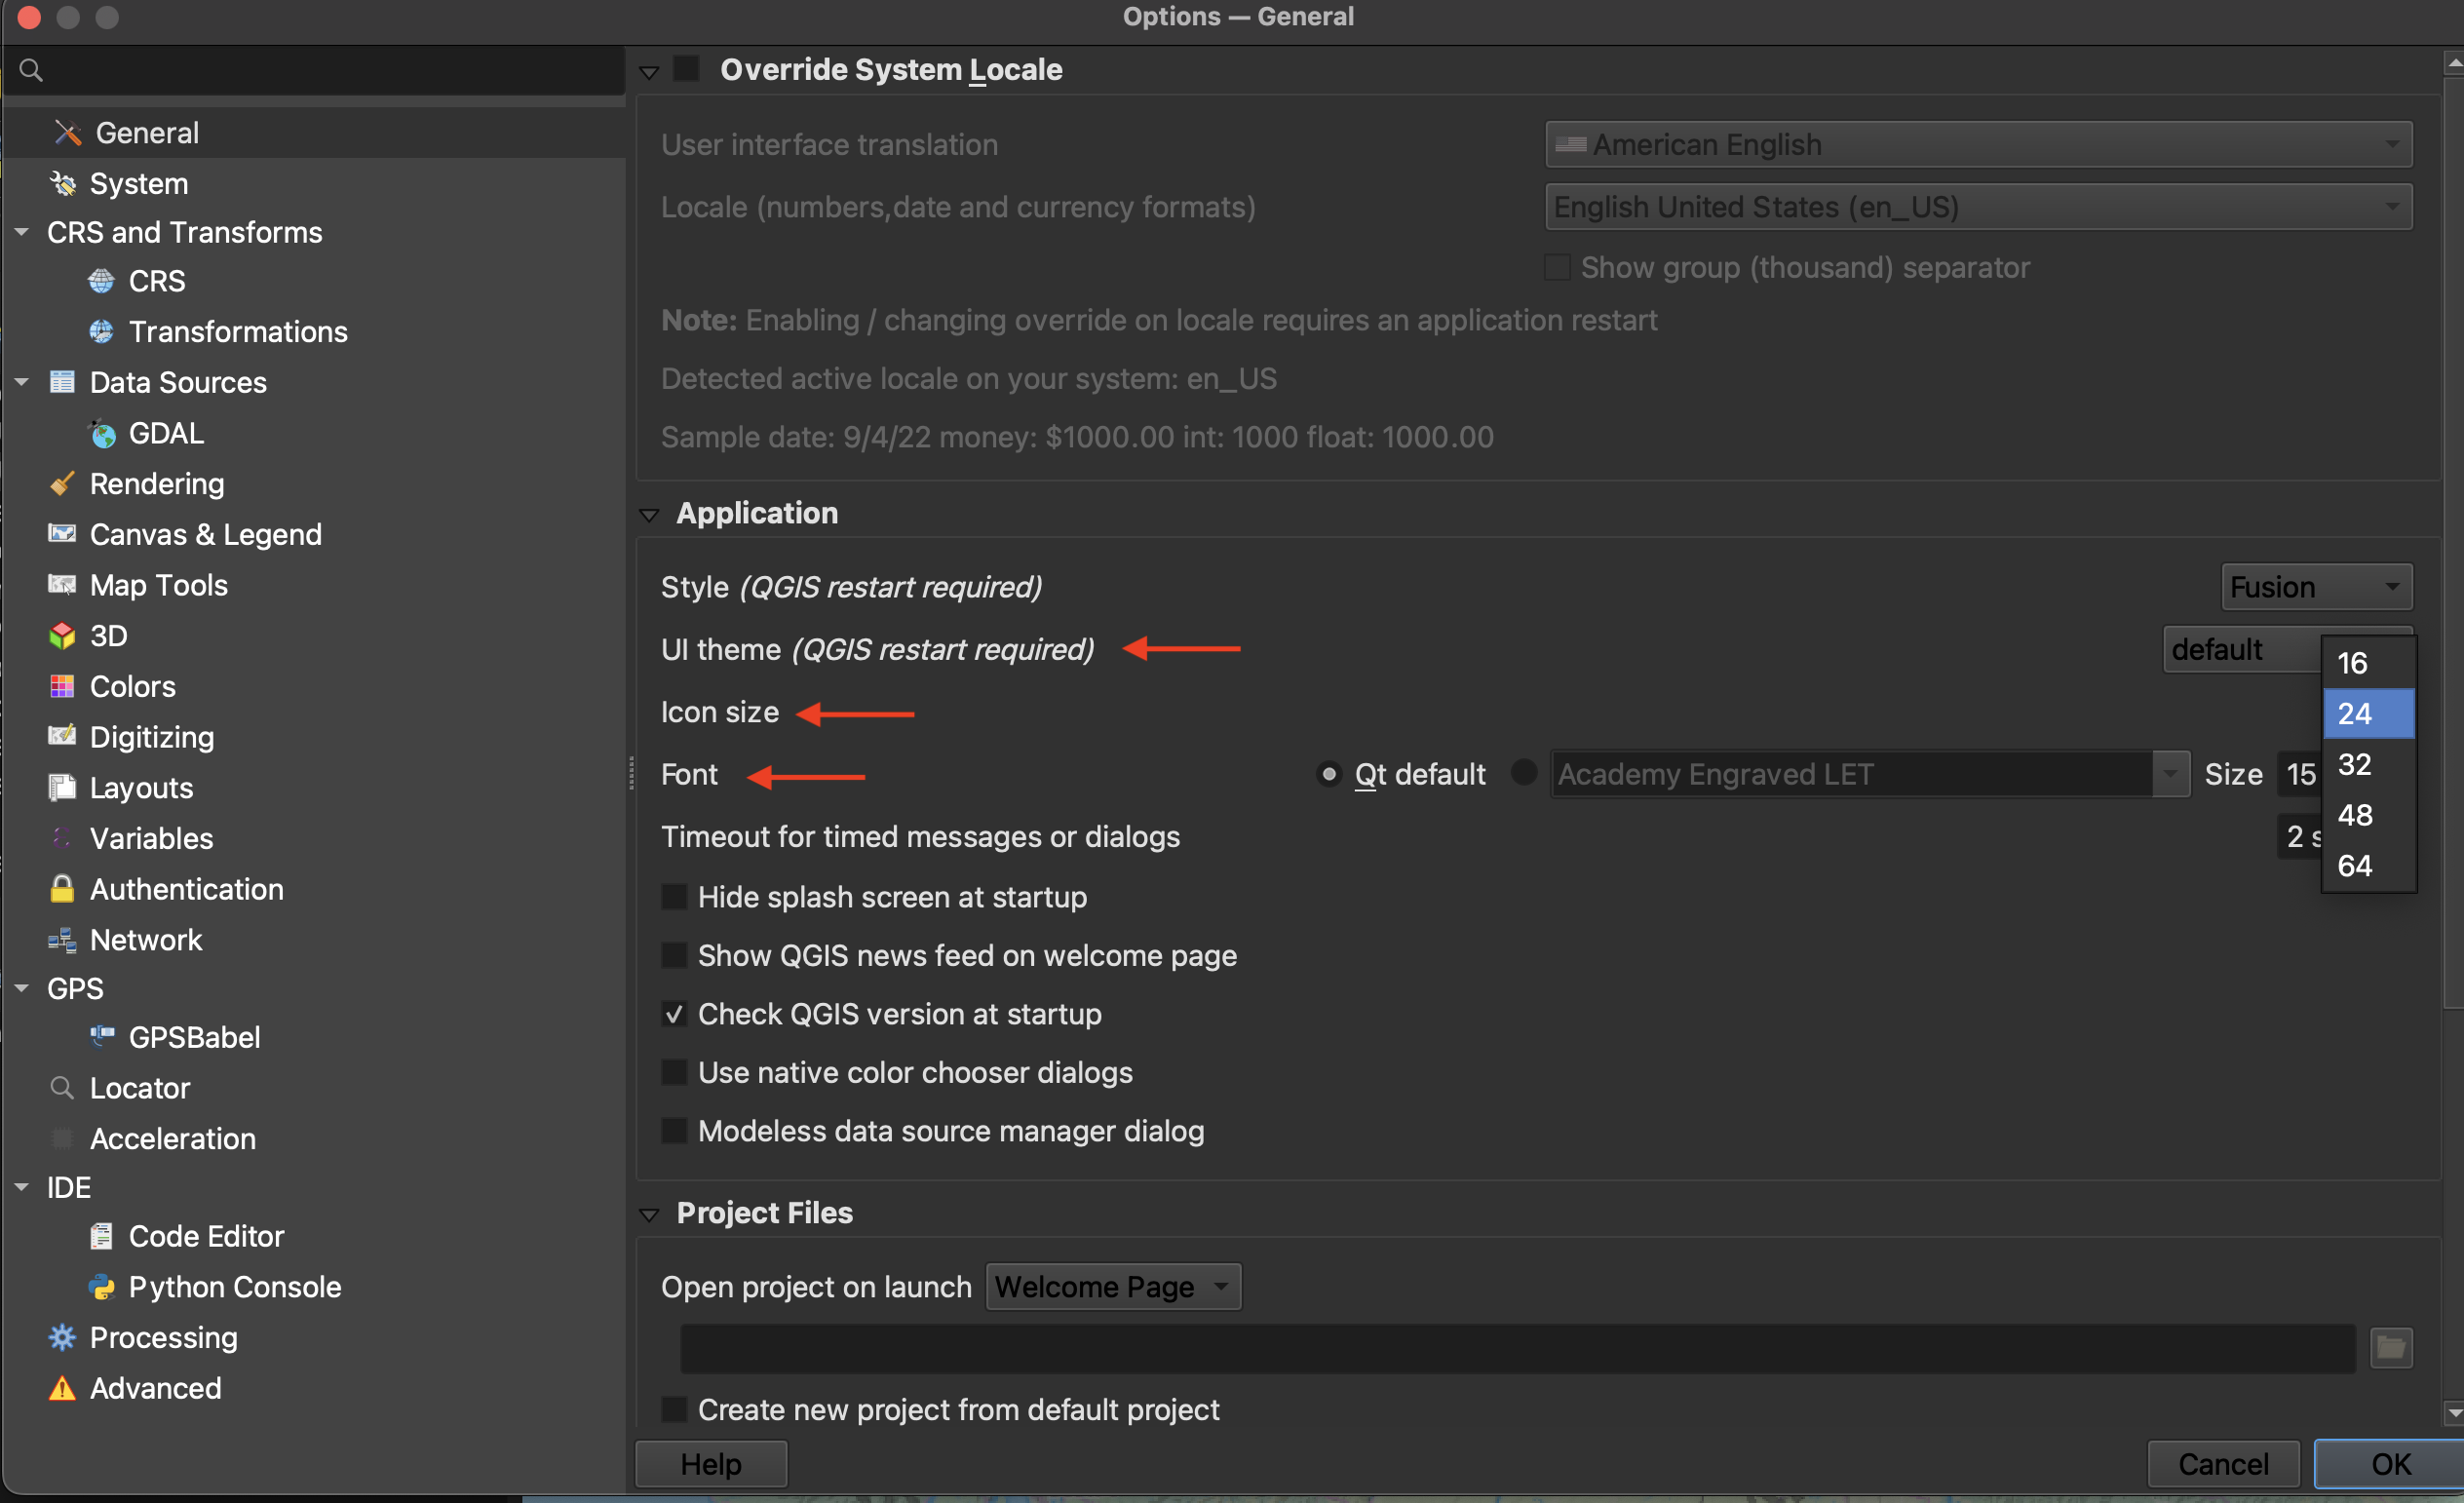
To increase the size of icons and text on your interface, go to the Settings menu at the top of your screen and click on Options.
Resize the dialogue box so you can see the drop-down for “icon size” and “font.” Icon changes will happen as soon as you click OK. Changes in font size won’t update until you quit and restart QGIS. Make sure to save your project before doing so.
Resources for Project Setup
Table of contents
Loading last updated date...