Setting up a Developer Environment
In order to write the code that builds and renders your web maps you need a few things.
- First and foremost, you’ll need access to internet connection and a computer with an internet browser installed. The most recent version of Google Chrome is the recommended browser for this workshop.
- Second, you’ll need an access token to use Mapbox’s code libraries that power its web maps. To create your own access token, you generally would need to sign up for a free account. However, Mapbox will ask for your credit card information, even to create a free account. Therefore, this workshop provides an access token for you so you do not need to make an account at this time. When the Hands On section asks for an access token, use the token below.
pk.eyJ1IjoibGlseWRlbWV0IiwiYSI6ImNsazcyZ25zdjAzemwzcm1ydnNybmkwb2EifQ.ggoNMtZ32x8wK-tGYFOCDg
- Lastly, you’ll need a source code editor for swift and efficient map construction. Much like a word processor helps with writing essays, a code editor makes writing code easier by formatting and color coding your work as you type. The workshop recommends Visual Studio Code.
Setting up Visual Studio Code
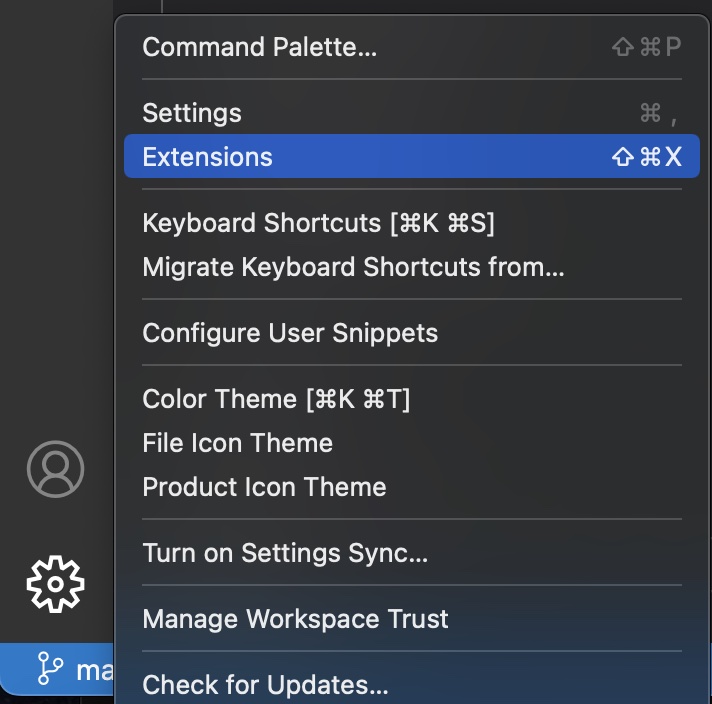
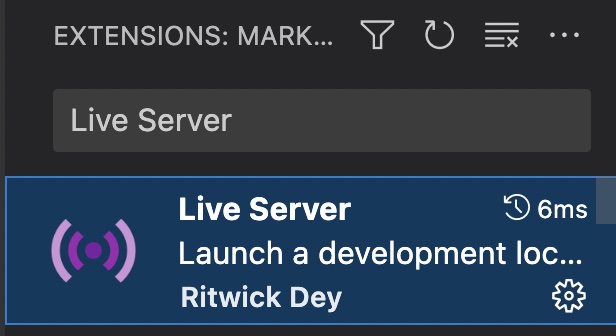
It’s helpful to see your web-map change as you work. Live Server is an extension for Visual Studio Code that builds a local server to host HTML documents in-progress. To install, first locate the Visual Studio Code application on your computer and open it. Then, click the gear icon in the bottom left corner of VS Code and go to extensions. Search for “Live Server” and install.

