Extract OSM data with QuickOSM plugin
QuickOSM is a plugin that allows you to query and download Open Street Maps (OSM) data for specific areas directly to your local computer for offline use. Having your own copy of OSM data is useful if you’re running network analysis or otherwise want to modify infrastructural spatial data. While applications like overpass turbo allow you to do something similar on the web, QuickOSM is a tool specifically designed for use within the QGIS interface.
1 Add the OSM Standard basemap to project and drag beneath your other data layers. If you zoom in and pan around, you’ll see OSM Standard basemap contains buildings, street networks, and parks among other elements. These are all data we can download and use from OSM. Zoom back to van-shoreline.
2 From the Plugins menu at the top of your screen, navigate to Manage and Install Plugins… In the Plugins dialogue box that opens, first go to Settings and enable experimental and deprecated plugins. Return back to All and search “QuickOSM”. Install the plugin and close the dialogue box.
3 Now click on the Vector menu at the top of your screen and go to QuickOSM. (Note you can also search for the tool in your Processing toolbox, or from the Help menu.)
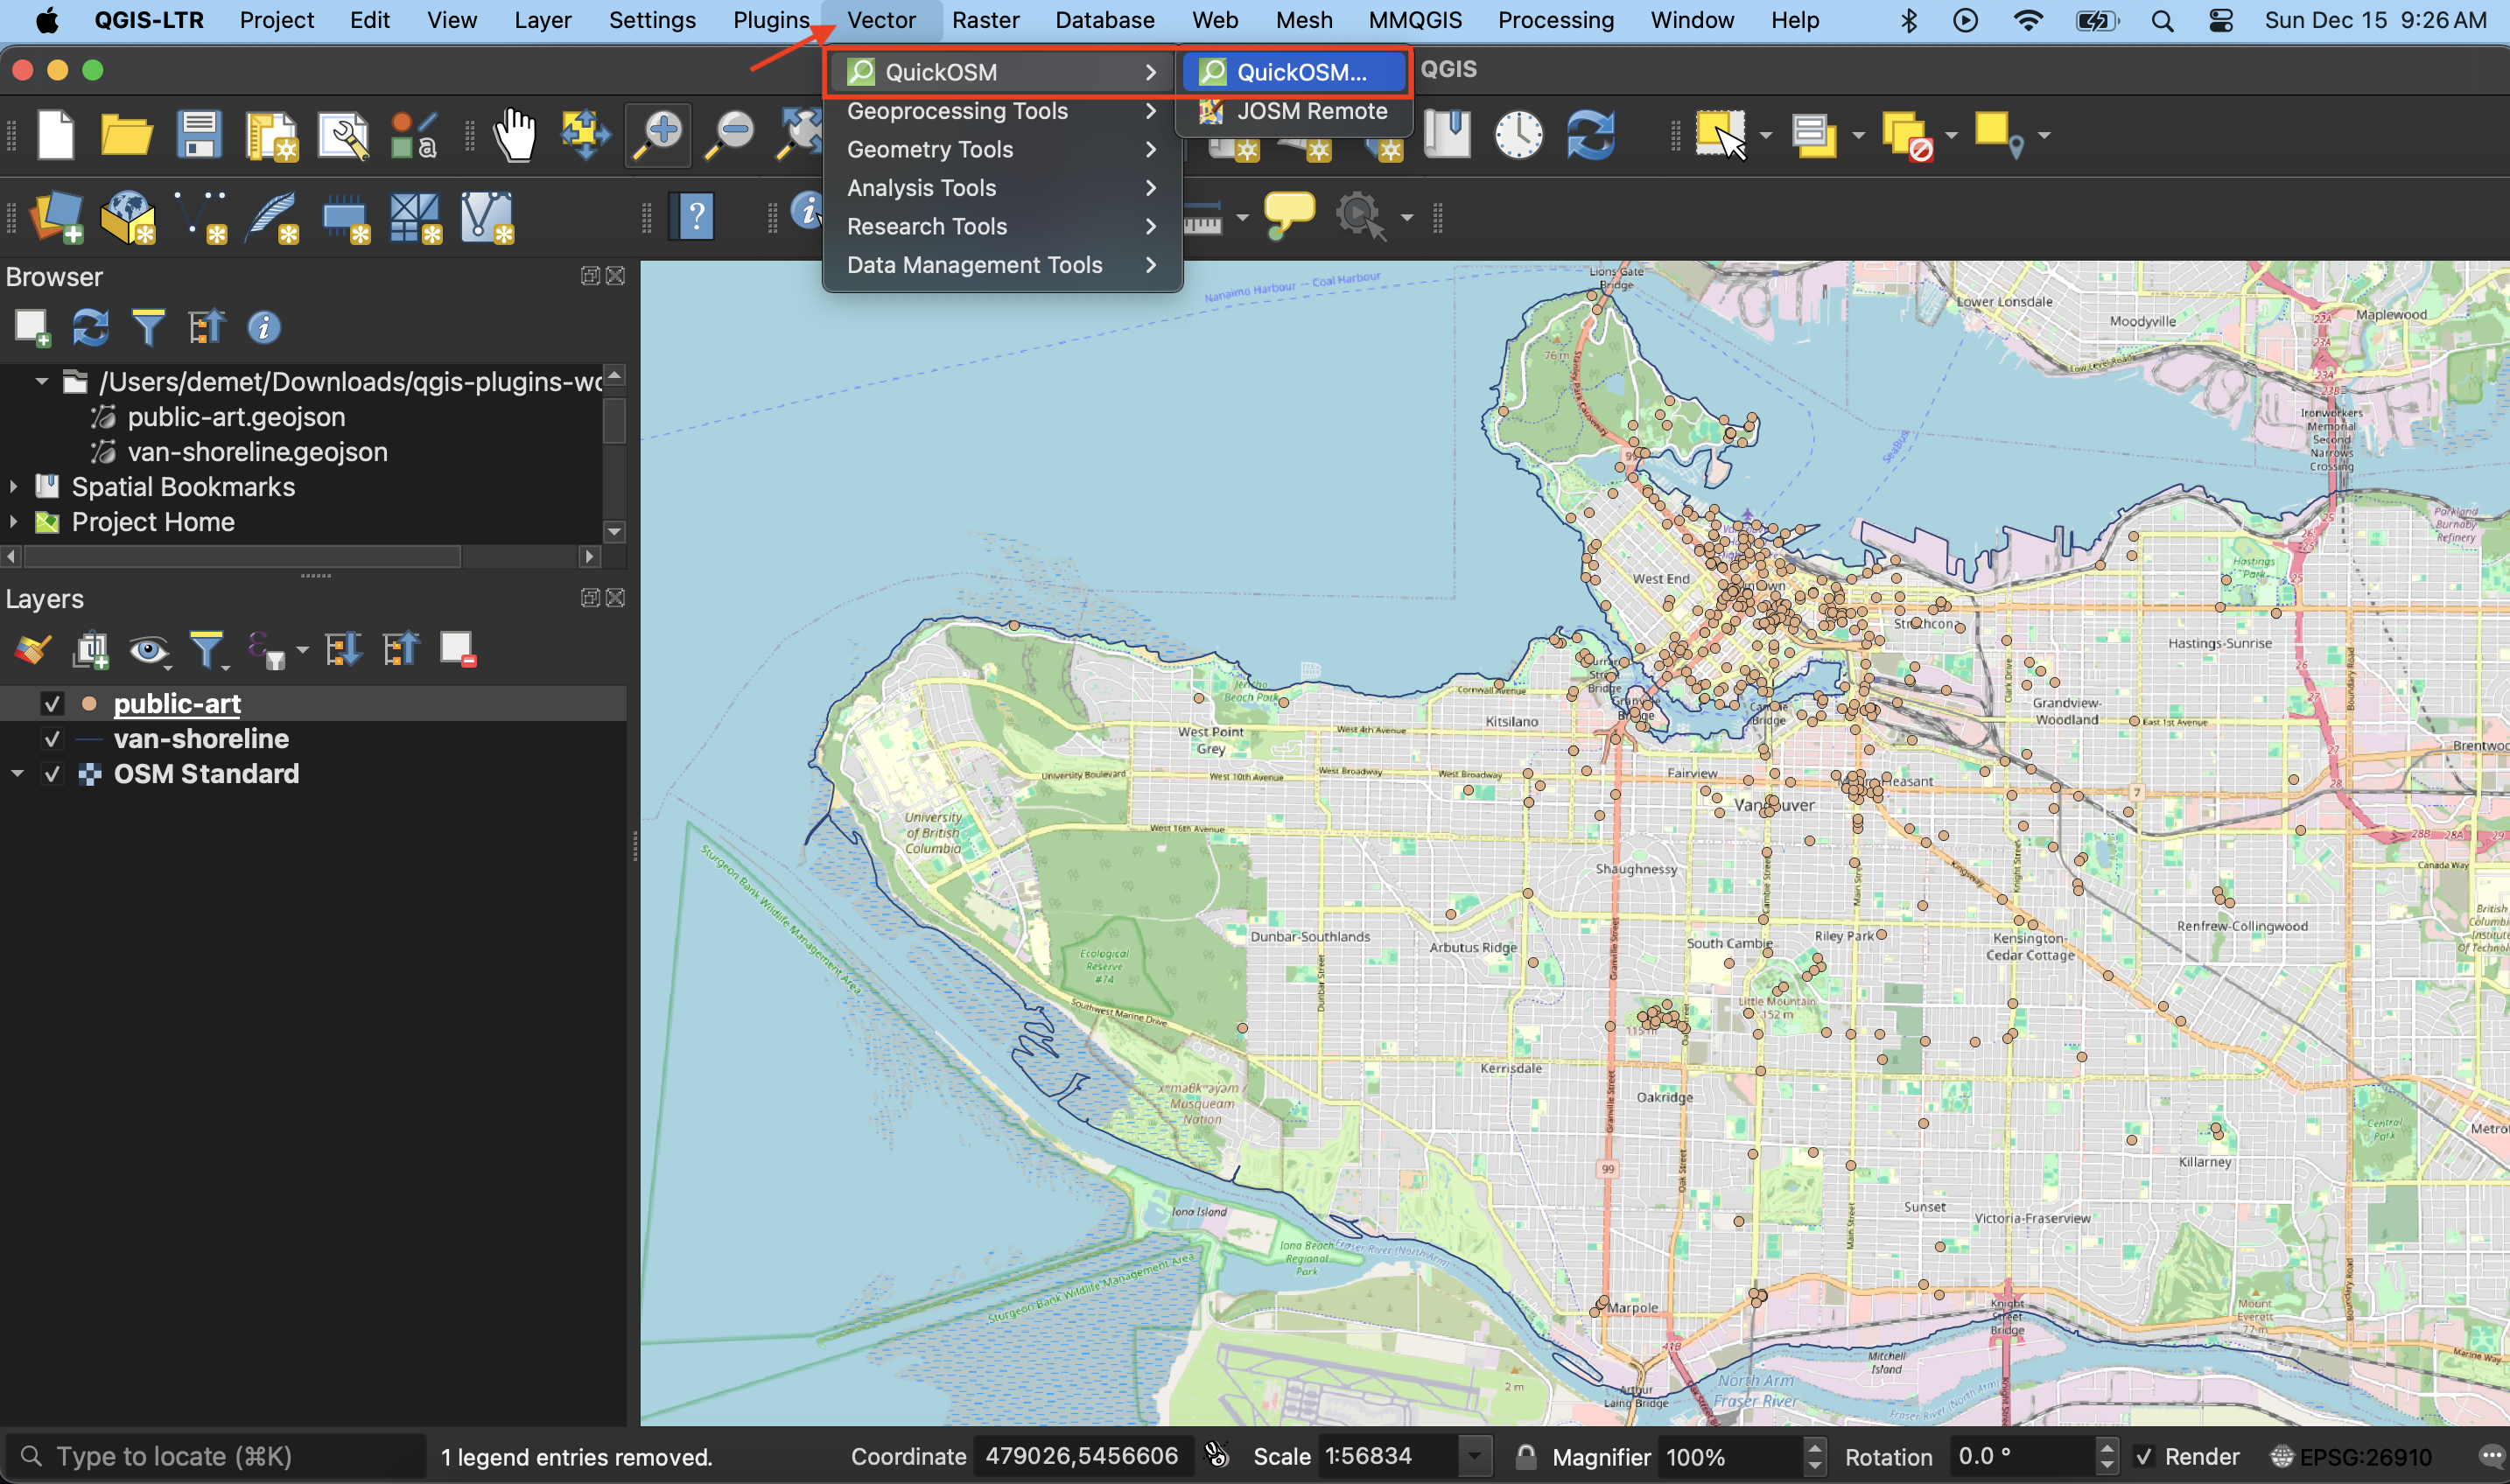
4 In the dialogue box that opens, you can choose which attributes to query and download, as well as the geographic extent to query and download from.
The extent you choose will depend on what OSM data you’re downloading. For instance, if you’re downloading buildings or roads, you definitely don’t want to download data for the whole world as this will cause your computer to crash immediately. Set your extent to your research area. You can draw the extent on the map canvas yourself or, conveniently, you can set the extent to a layer from your project. In today’s workship, we will download OSM data on public artwork, specifically murals, within the extent of Vancouver’s shoreline. So, input the relevant parameters:

If you switch to the “OSM File” tab in the dialog window, you can see how the tool is searching and where it’s saving extracted data. Let’s keep our outputs as a temporary files for now.
Return to the “Quick query” tab and Run the query.
5 Drag the output file artwork_type_mural to the top of your Layers Panel. Change the symbology if necessary to differentiate it from your other layers and the basemap. Your new layer of extracted OSM data will look something like this:

6 Open the attribute table of this temporary file to see what’s been extracted.
7 Now save the layer as a permanent file to your project workshop data folder. To do this, right-click the layer in your Layers panel and choose Export and Save feature as…. Call it osm-murals and set the file type to GeoJSON.
Remember, murals in Vancouver can update every year. Don’t take these data point’s as fact. Go explore for yourself!
Loading last updated date...