Project Setup
A QGIS project for today’s workshop as already been prepared for you. To open it, download and unzip the workshop data folder here. Enter the folder and double-click on the file named qgis-plugins_YOURNAME.qgz.
The initial view will look something like the image below. If your screen is blank when the project opens, zoom to the layer van-shoreline. (To “zoom to” a layer, right-click it in your Layers Panel and choose to “zoom to”.)
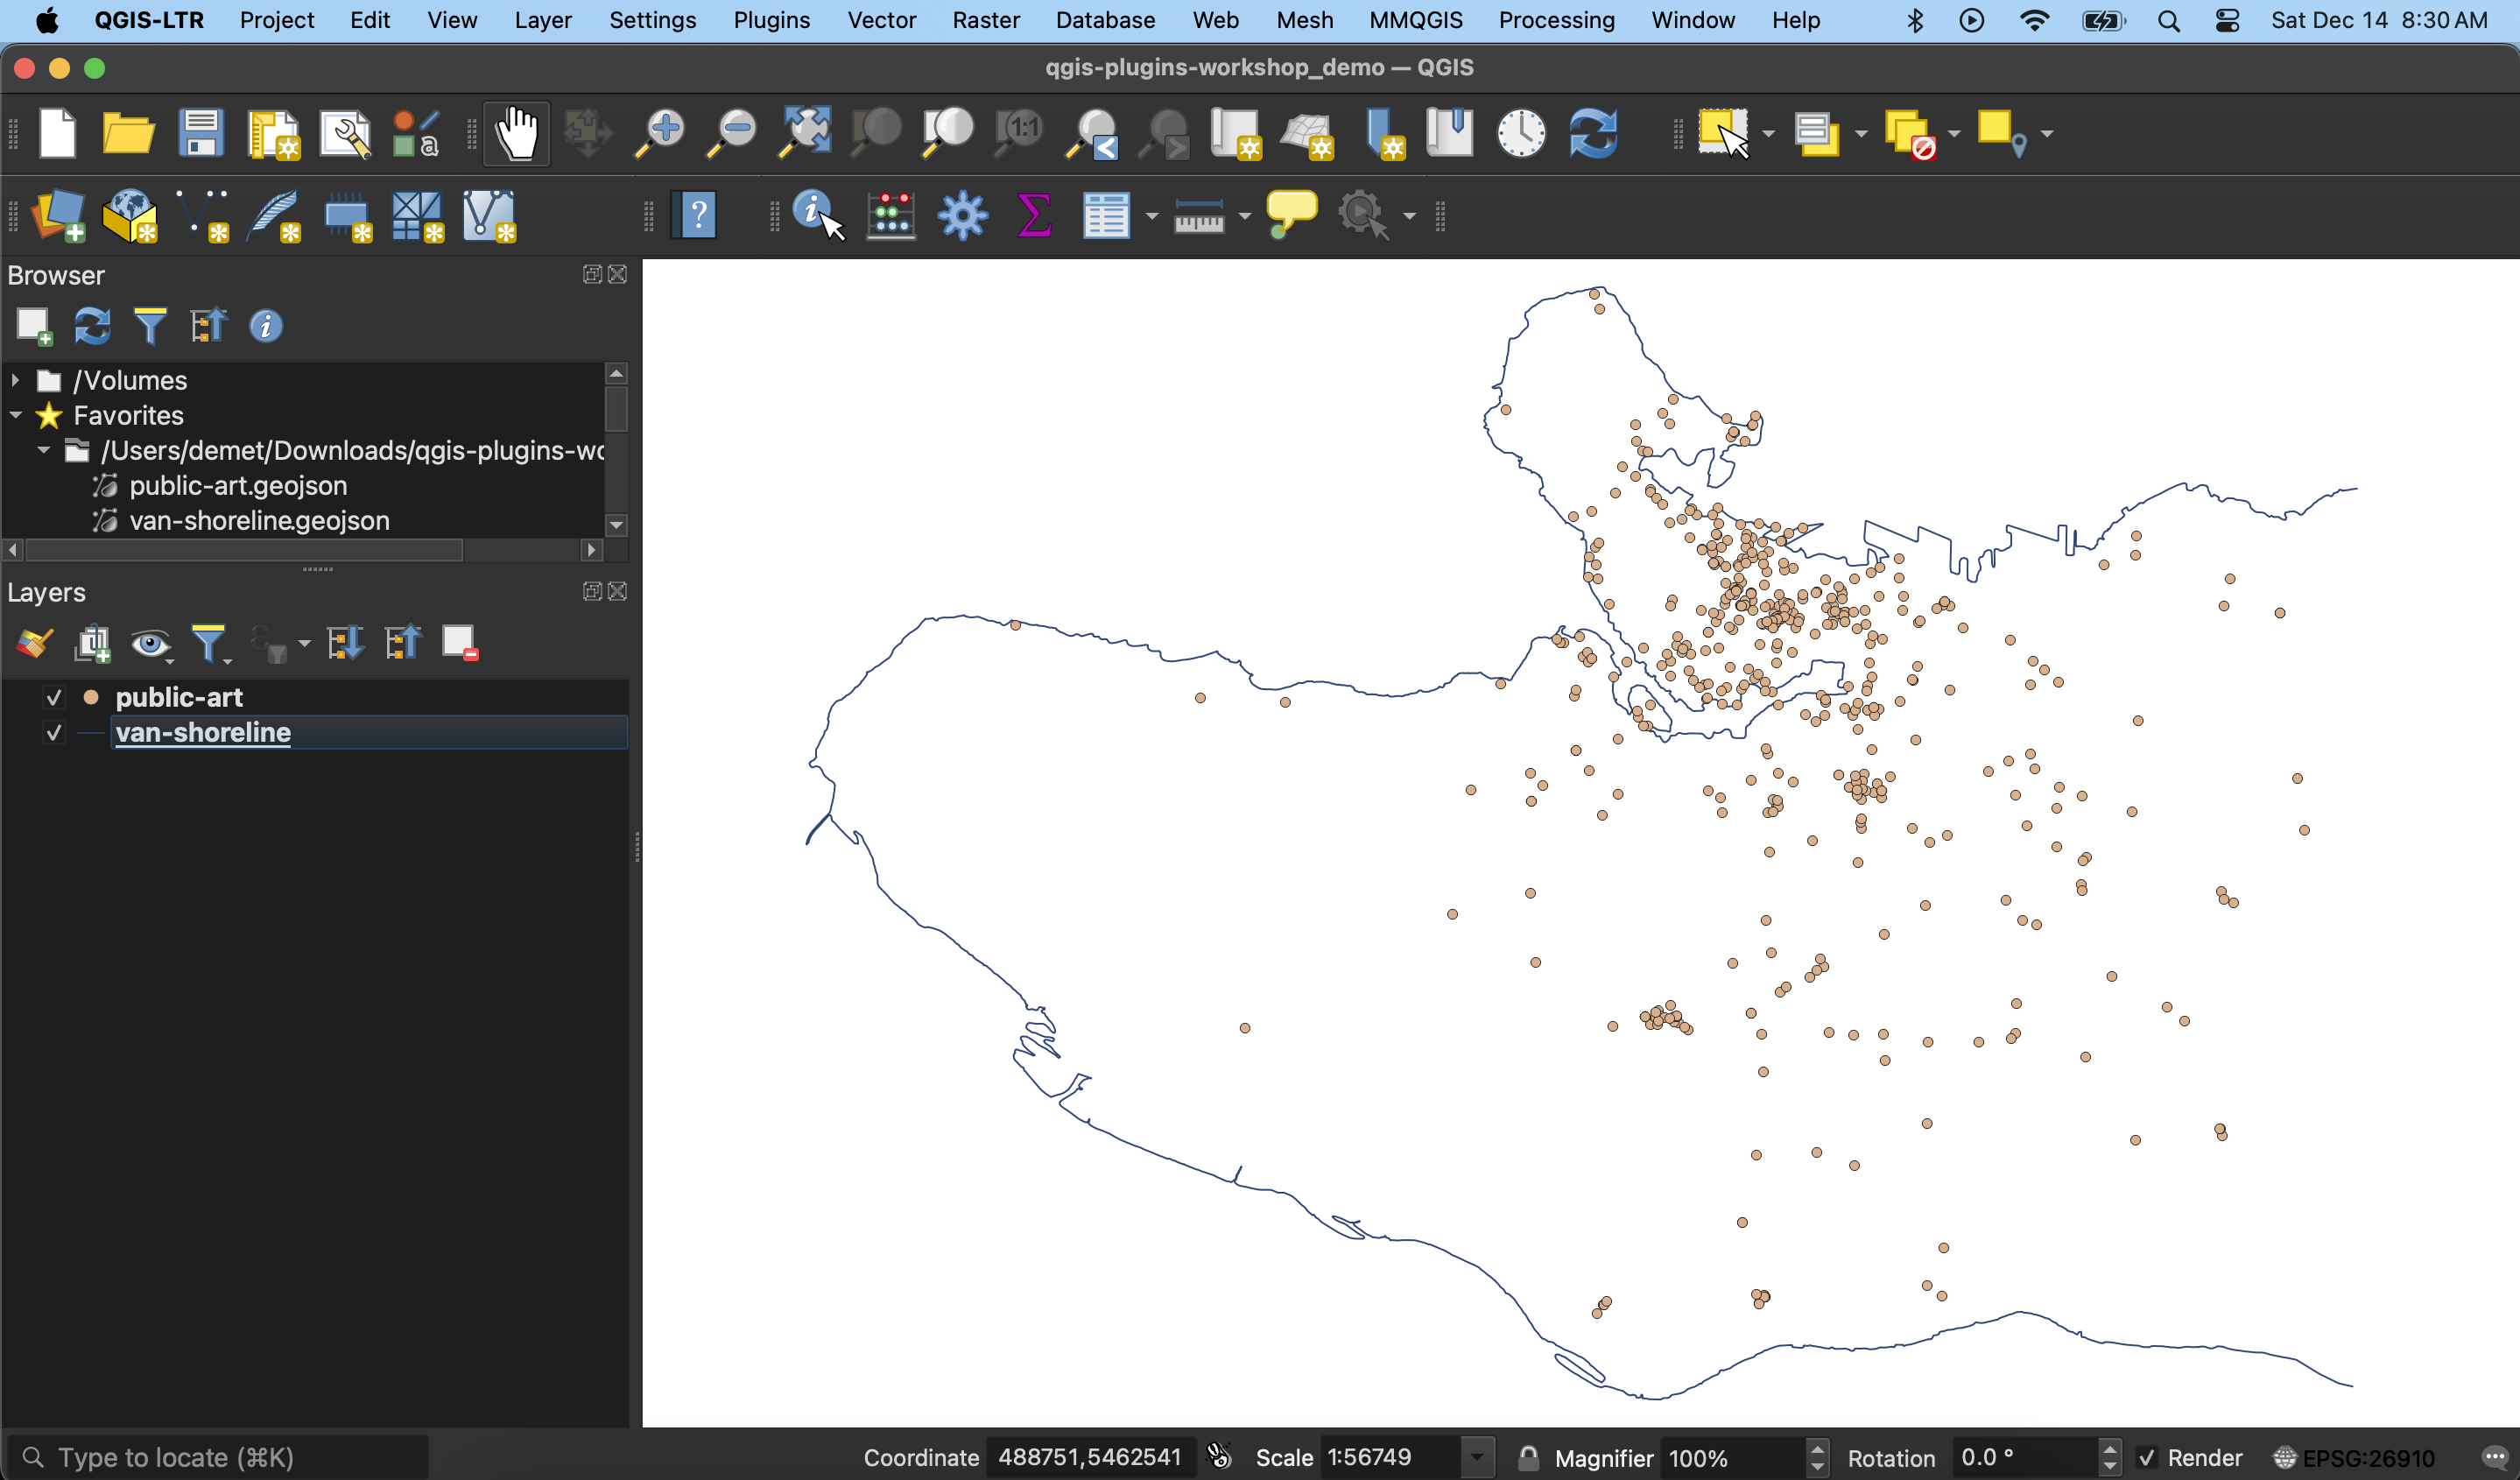
Two data layers have been prepared for you and added to the project. These are van-shoreline, an outline of vancouver’s shoreline, and public-art, a point layer visualizing public art installations around the city. Both of these were downloaded from Vancouver’s Open Data Portal.
You can change the way your layers are rendered by right-clicking the layer in your Layers Panel and going to Properties and then Symbology. You can also check the projection, metadata, and more of any layer by opening the layer Properties.
You can explore a layer’s associated tabular data by right-clicking the layer in your Layers Panel and selecting Open Attribute Table
You can check and change the projection of your entire project by going to the Project menu at the top of your screen, then opening the project’s Properties. Changing a project’s projection will not change the stored projection of any of your layers; it will simply re-project them “on-the-fly” to all match the project projection. Notice the workshop project’s projection is set to NAD83 / UTM zone 10N. This means it’s using the North American Datum from 1983, and it’s projected coordinate system is the Universal Transverse Mercator, specific to the longitude that runs through Vancouver and the west coast of the USA.
Before moving on: From the Project menu at the top of your screen, choose Save as and save your project with your name.
Additional Resources
Loading last updated date...