Three Ways to Add Data
1. Connecting a Directory
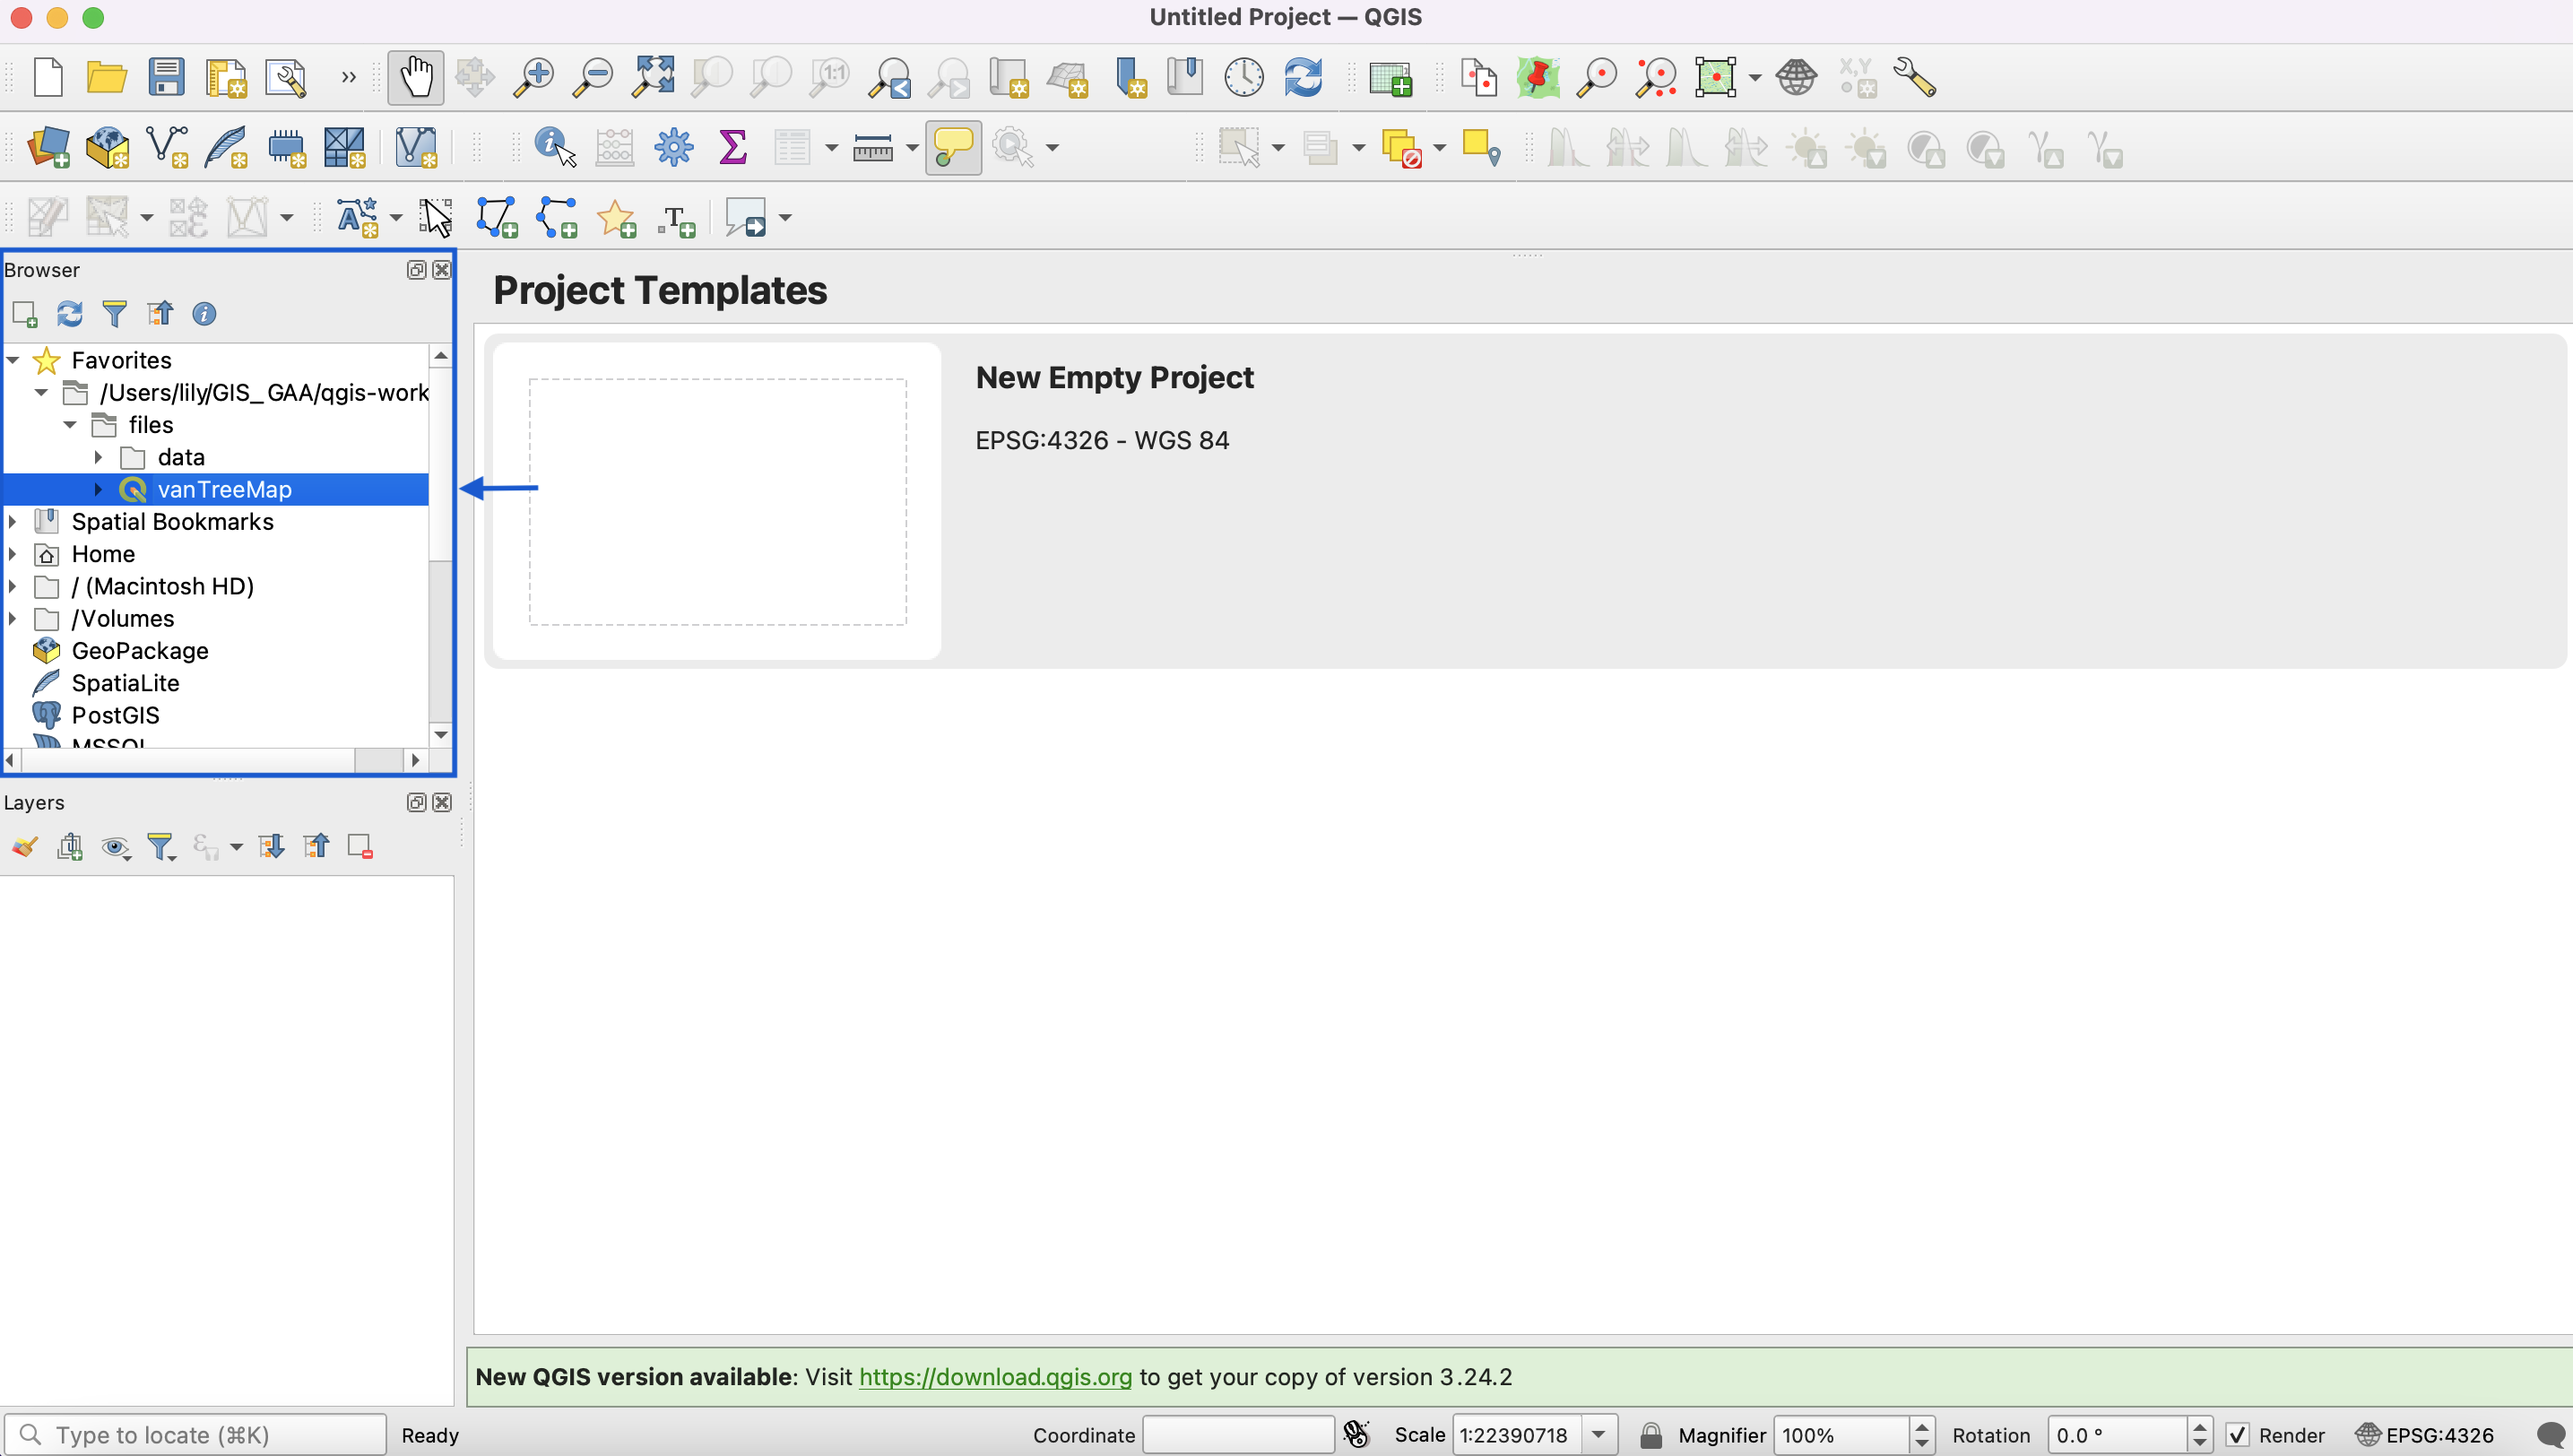
There are many ways to connect directories (folders) and add data to a QGIS project. Adding our working folder as a “favorite” connection now will make things easier later on. In the Browser Panel, right click Favorites and select Add new directory. Navigate to your newly extracted folder called intro-qgis-project-files. Select it (but don’t click into it) and hit Open at the bottom right of the dialogue box. The directory intro-qgis-project-files is now pinned in your Browser Panel. Expand the directory by clicking the triangle and open the data folder.
2.Data Source Manager
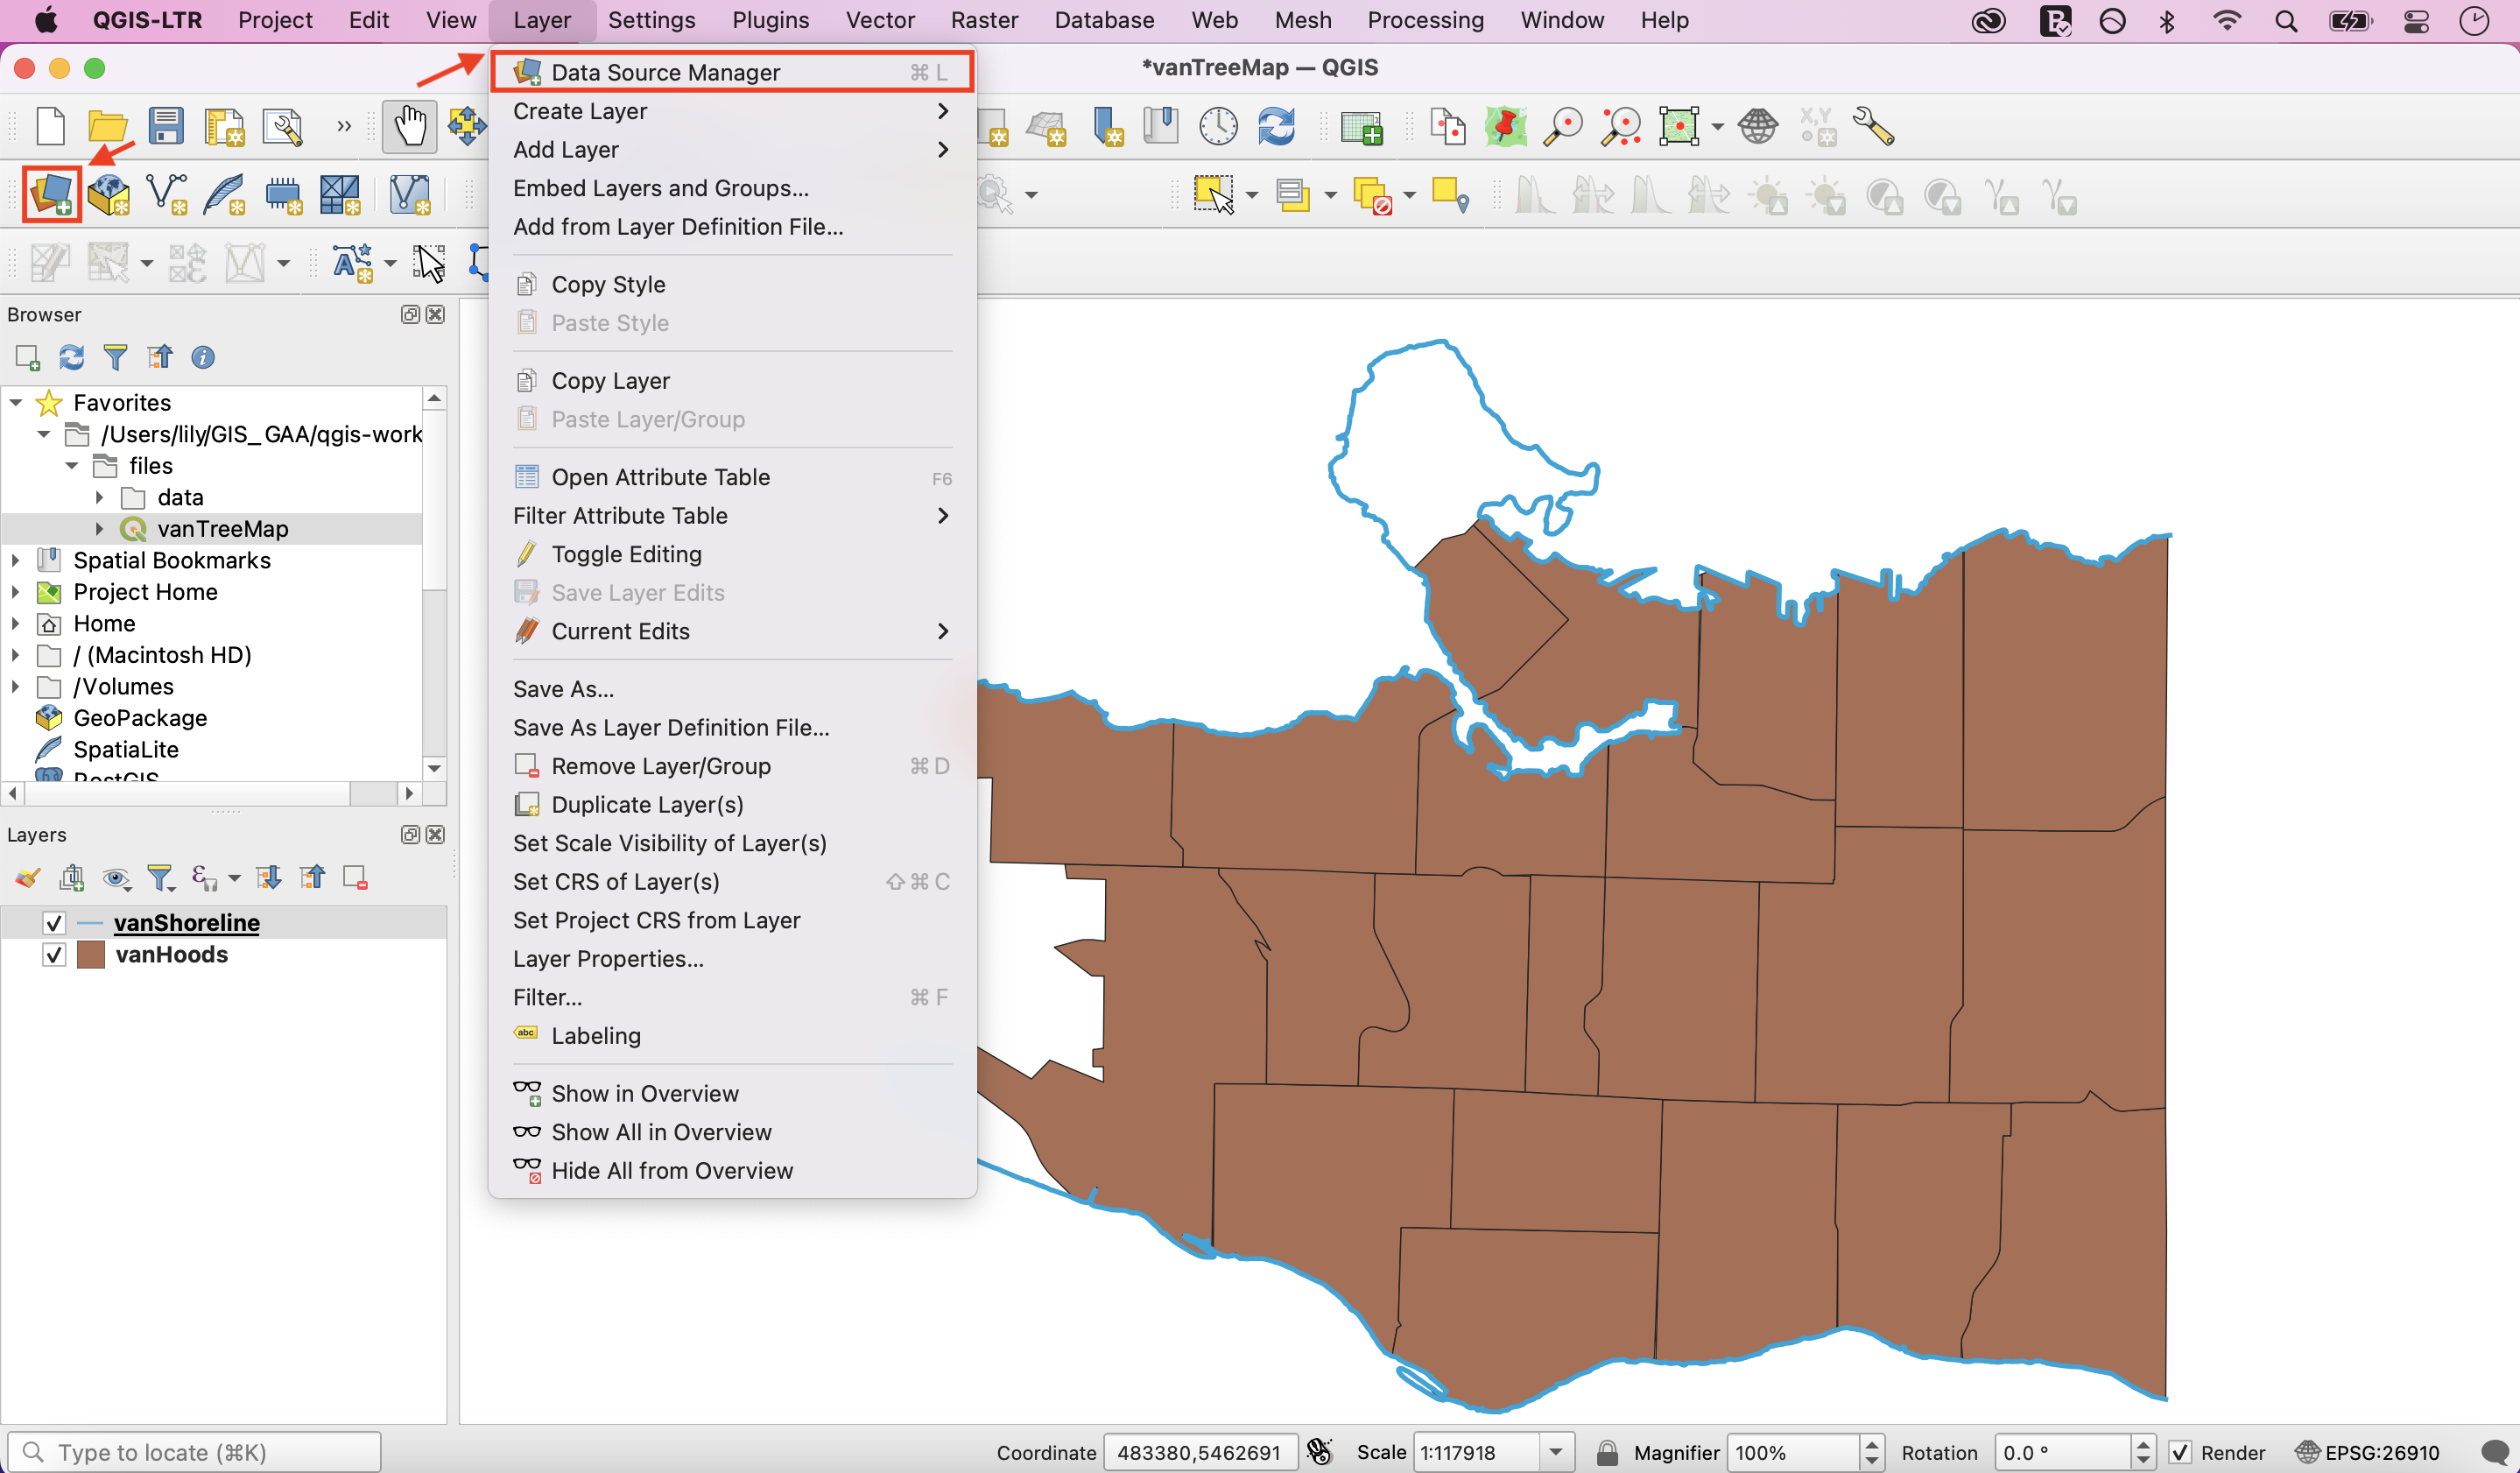
On the toolbars at the top of your screen, click the Layer button and select Data Source Manager. You can also open Data Source Manager directly from your docked Data Source Manager Toolbar.
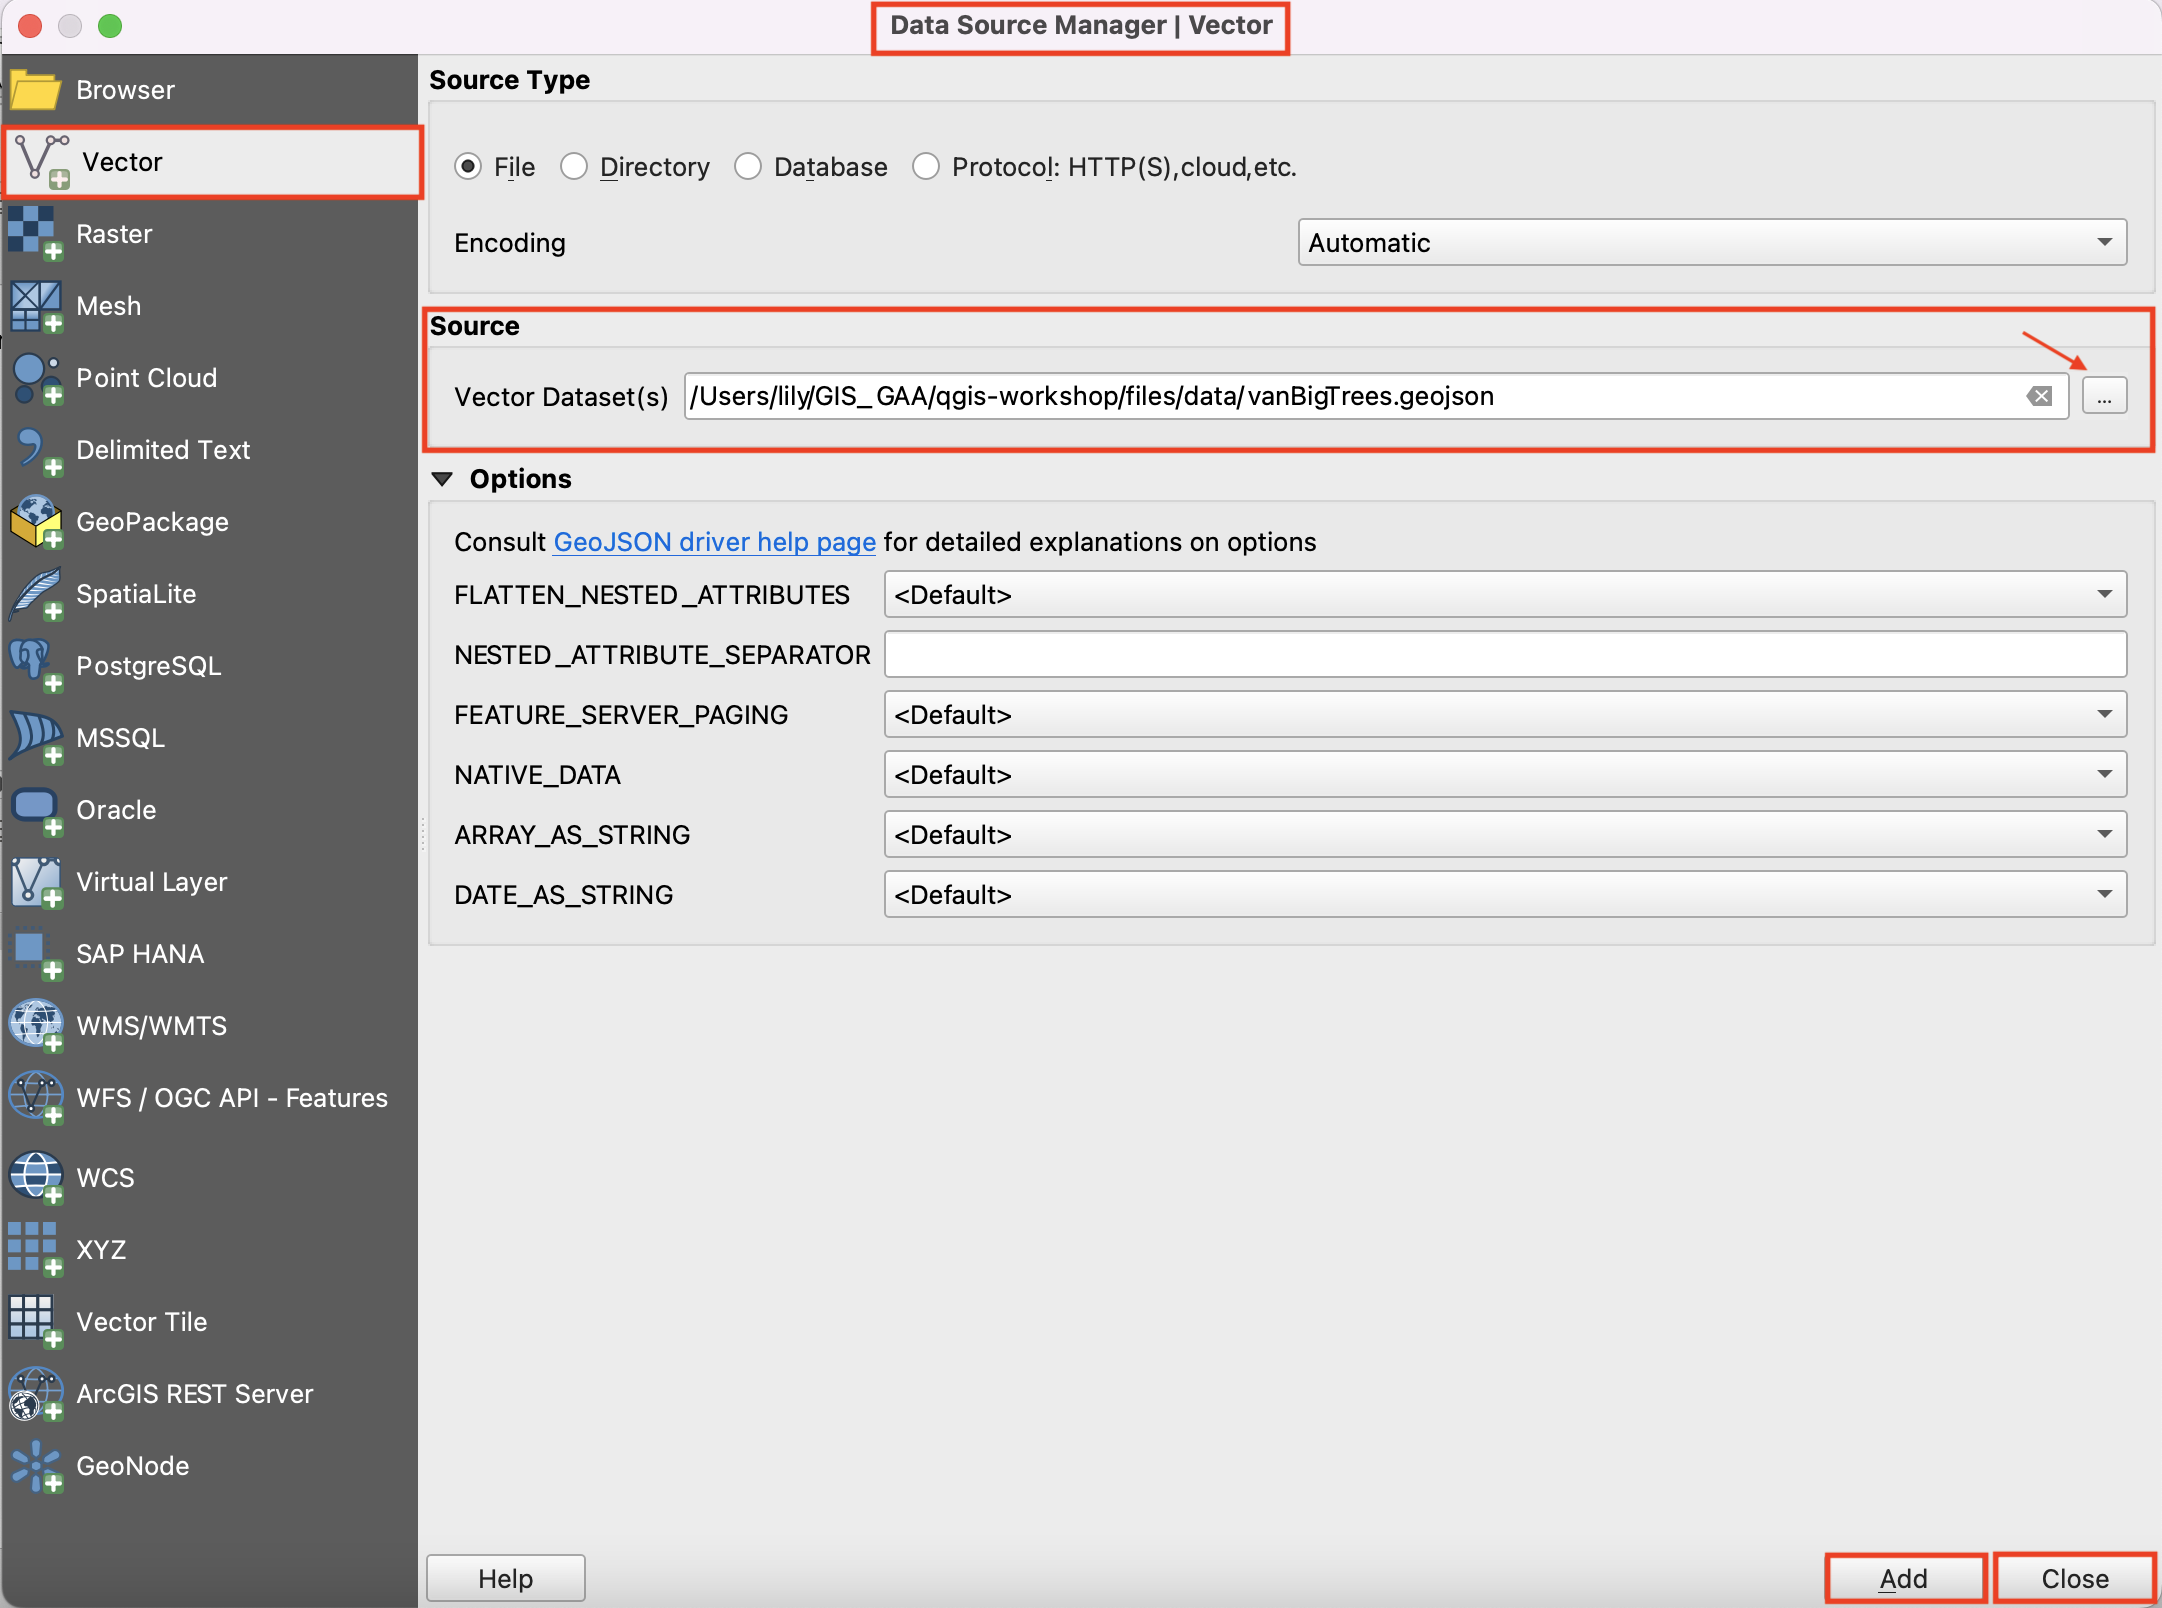
Select the Vector tab. For the vector dataset’s source, click the three dots and navigate to your intro-qgis-project-files\data folder. Select the file named vanBigTrees.geojson. Click Add, then Close.
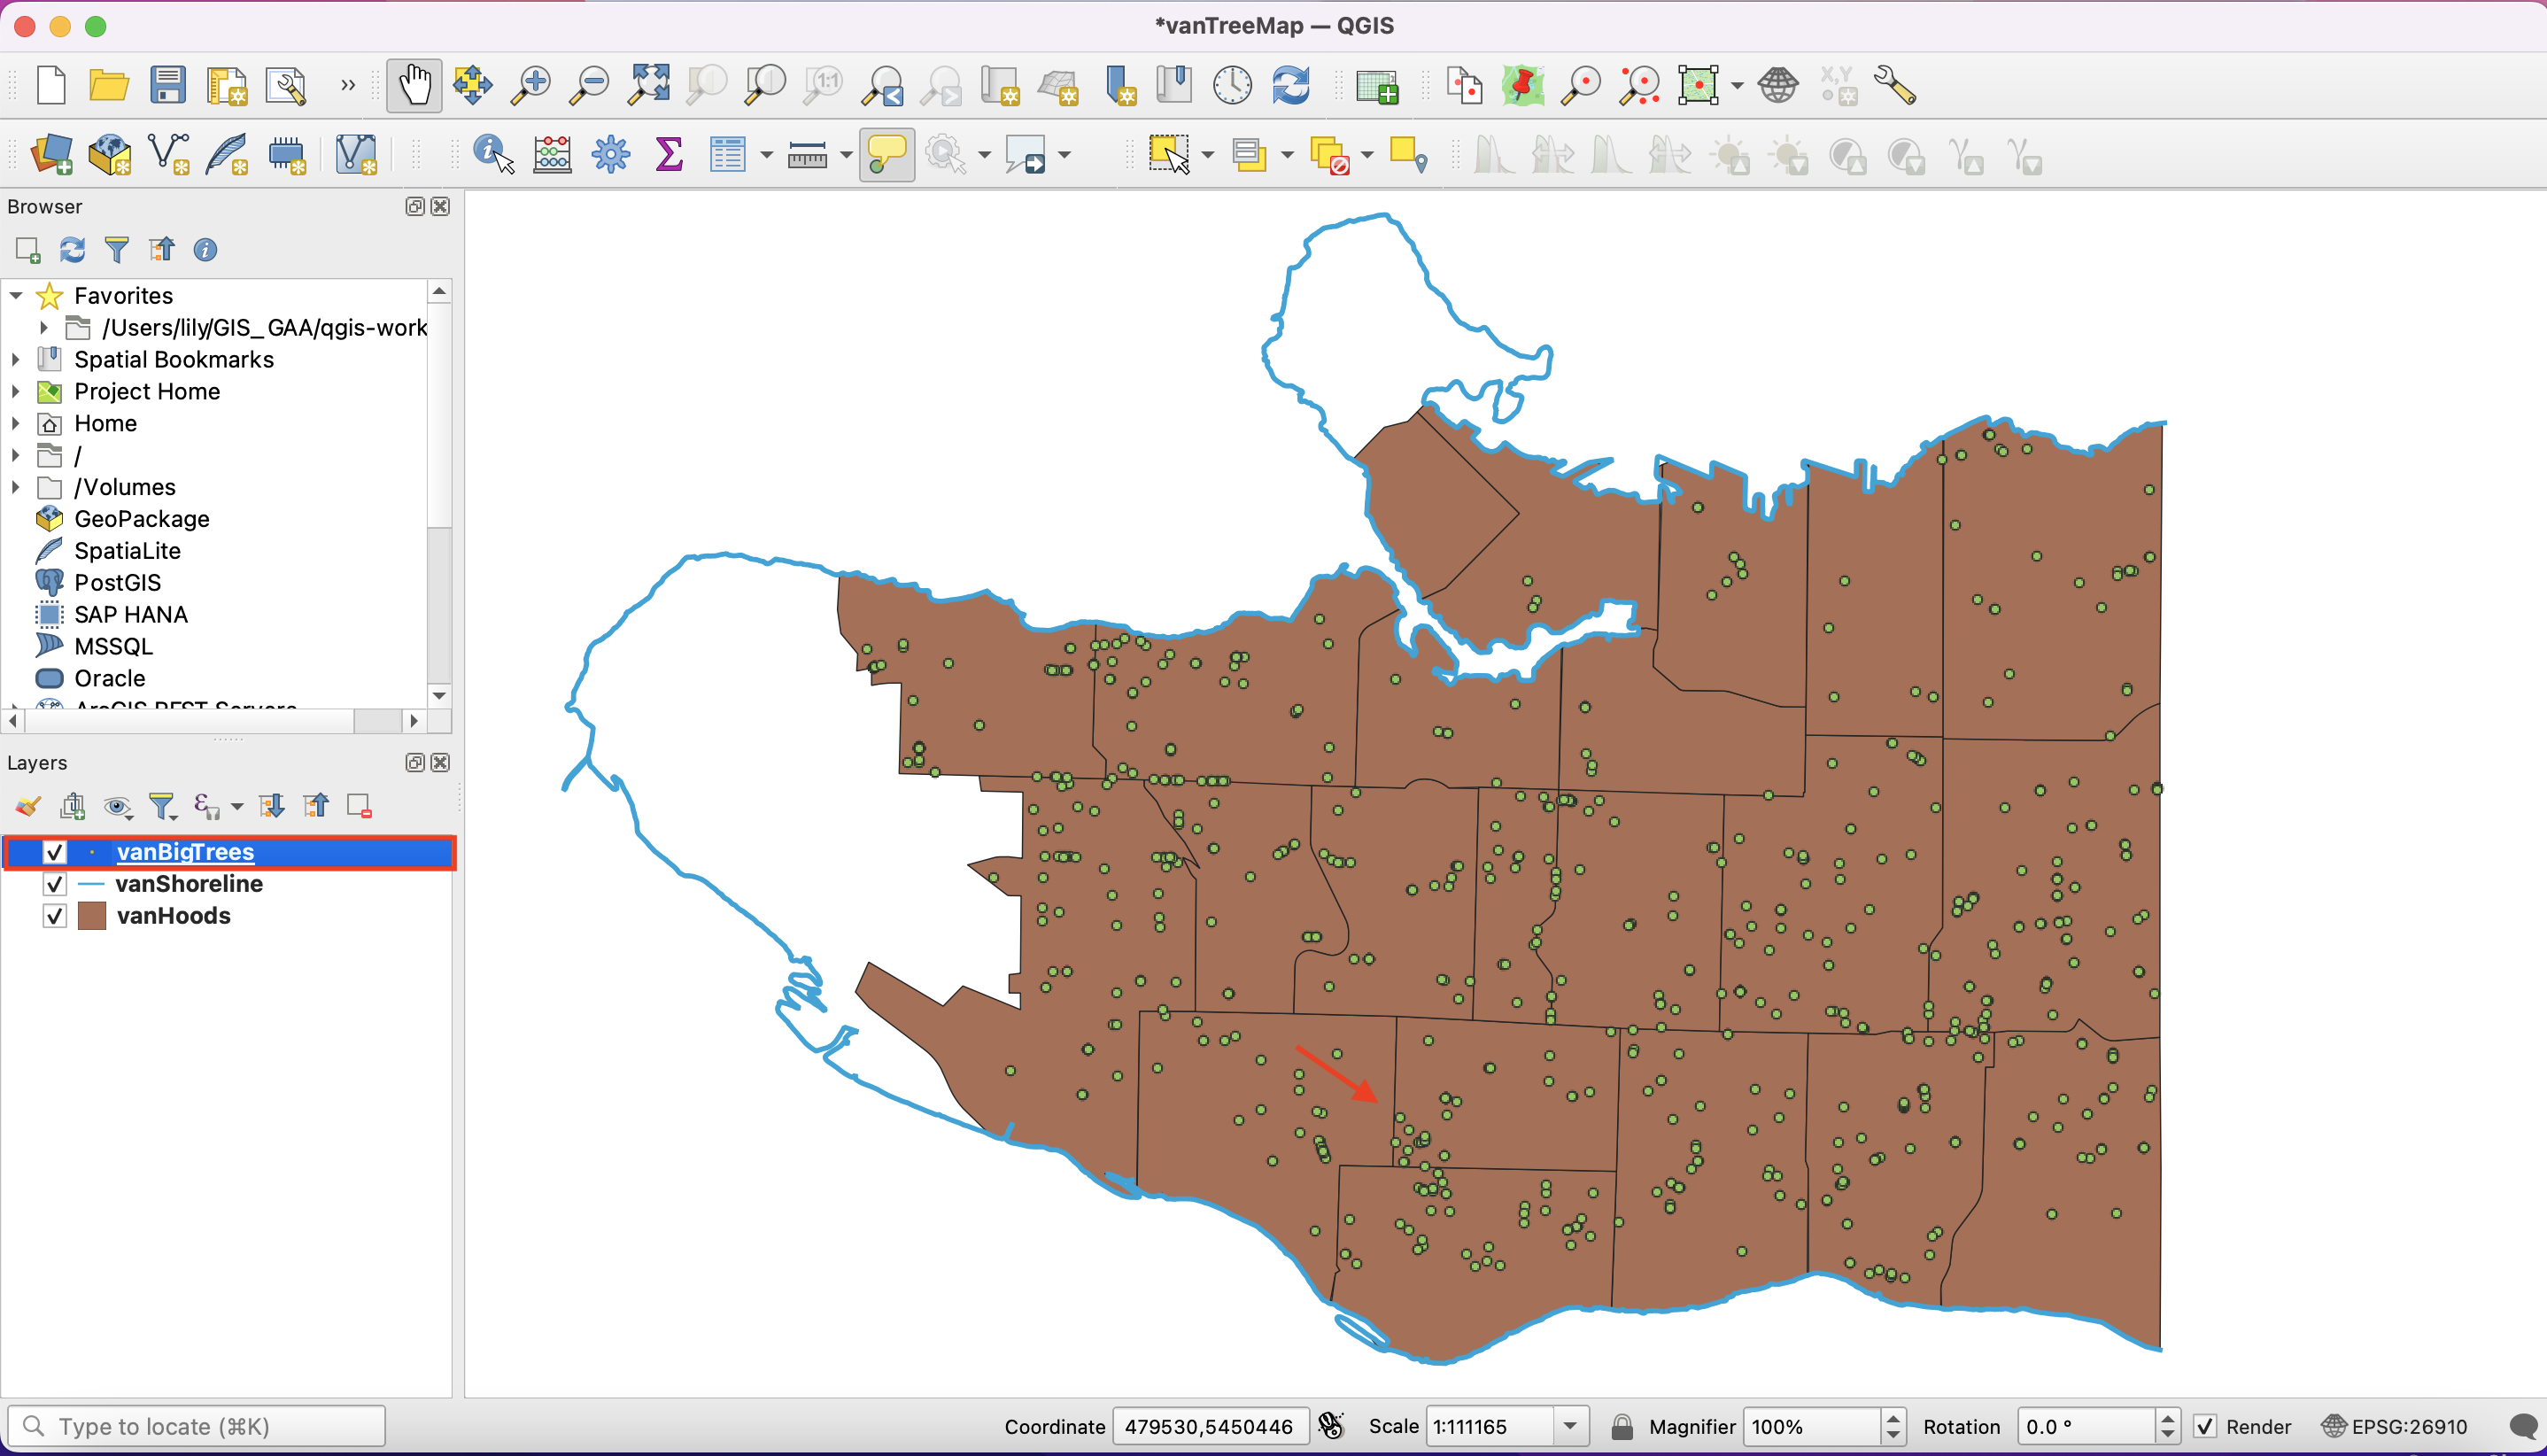
You should see a new layer named vanBigTrees in your Layers Panel, as well as dots on your map canvas symbolizing the coordinate location of some trees.
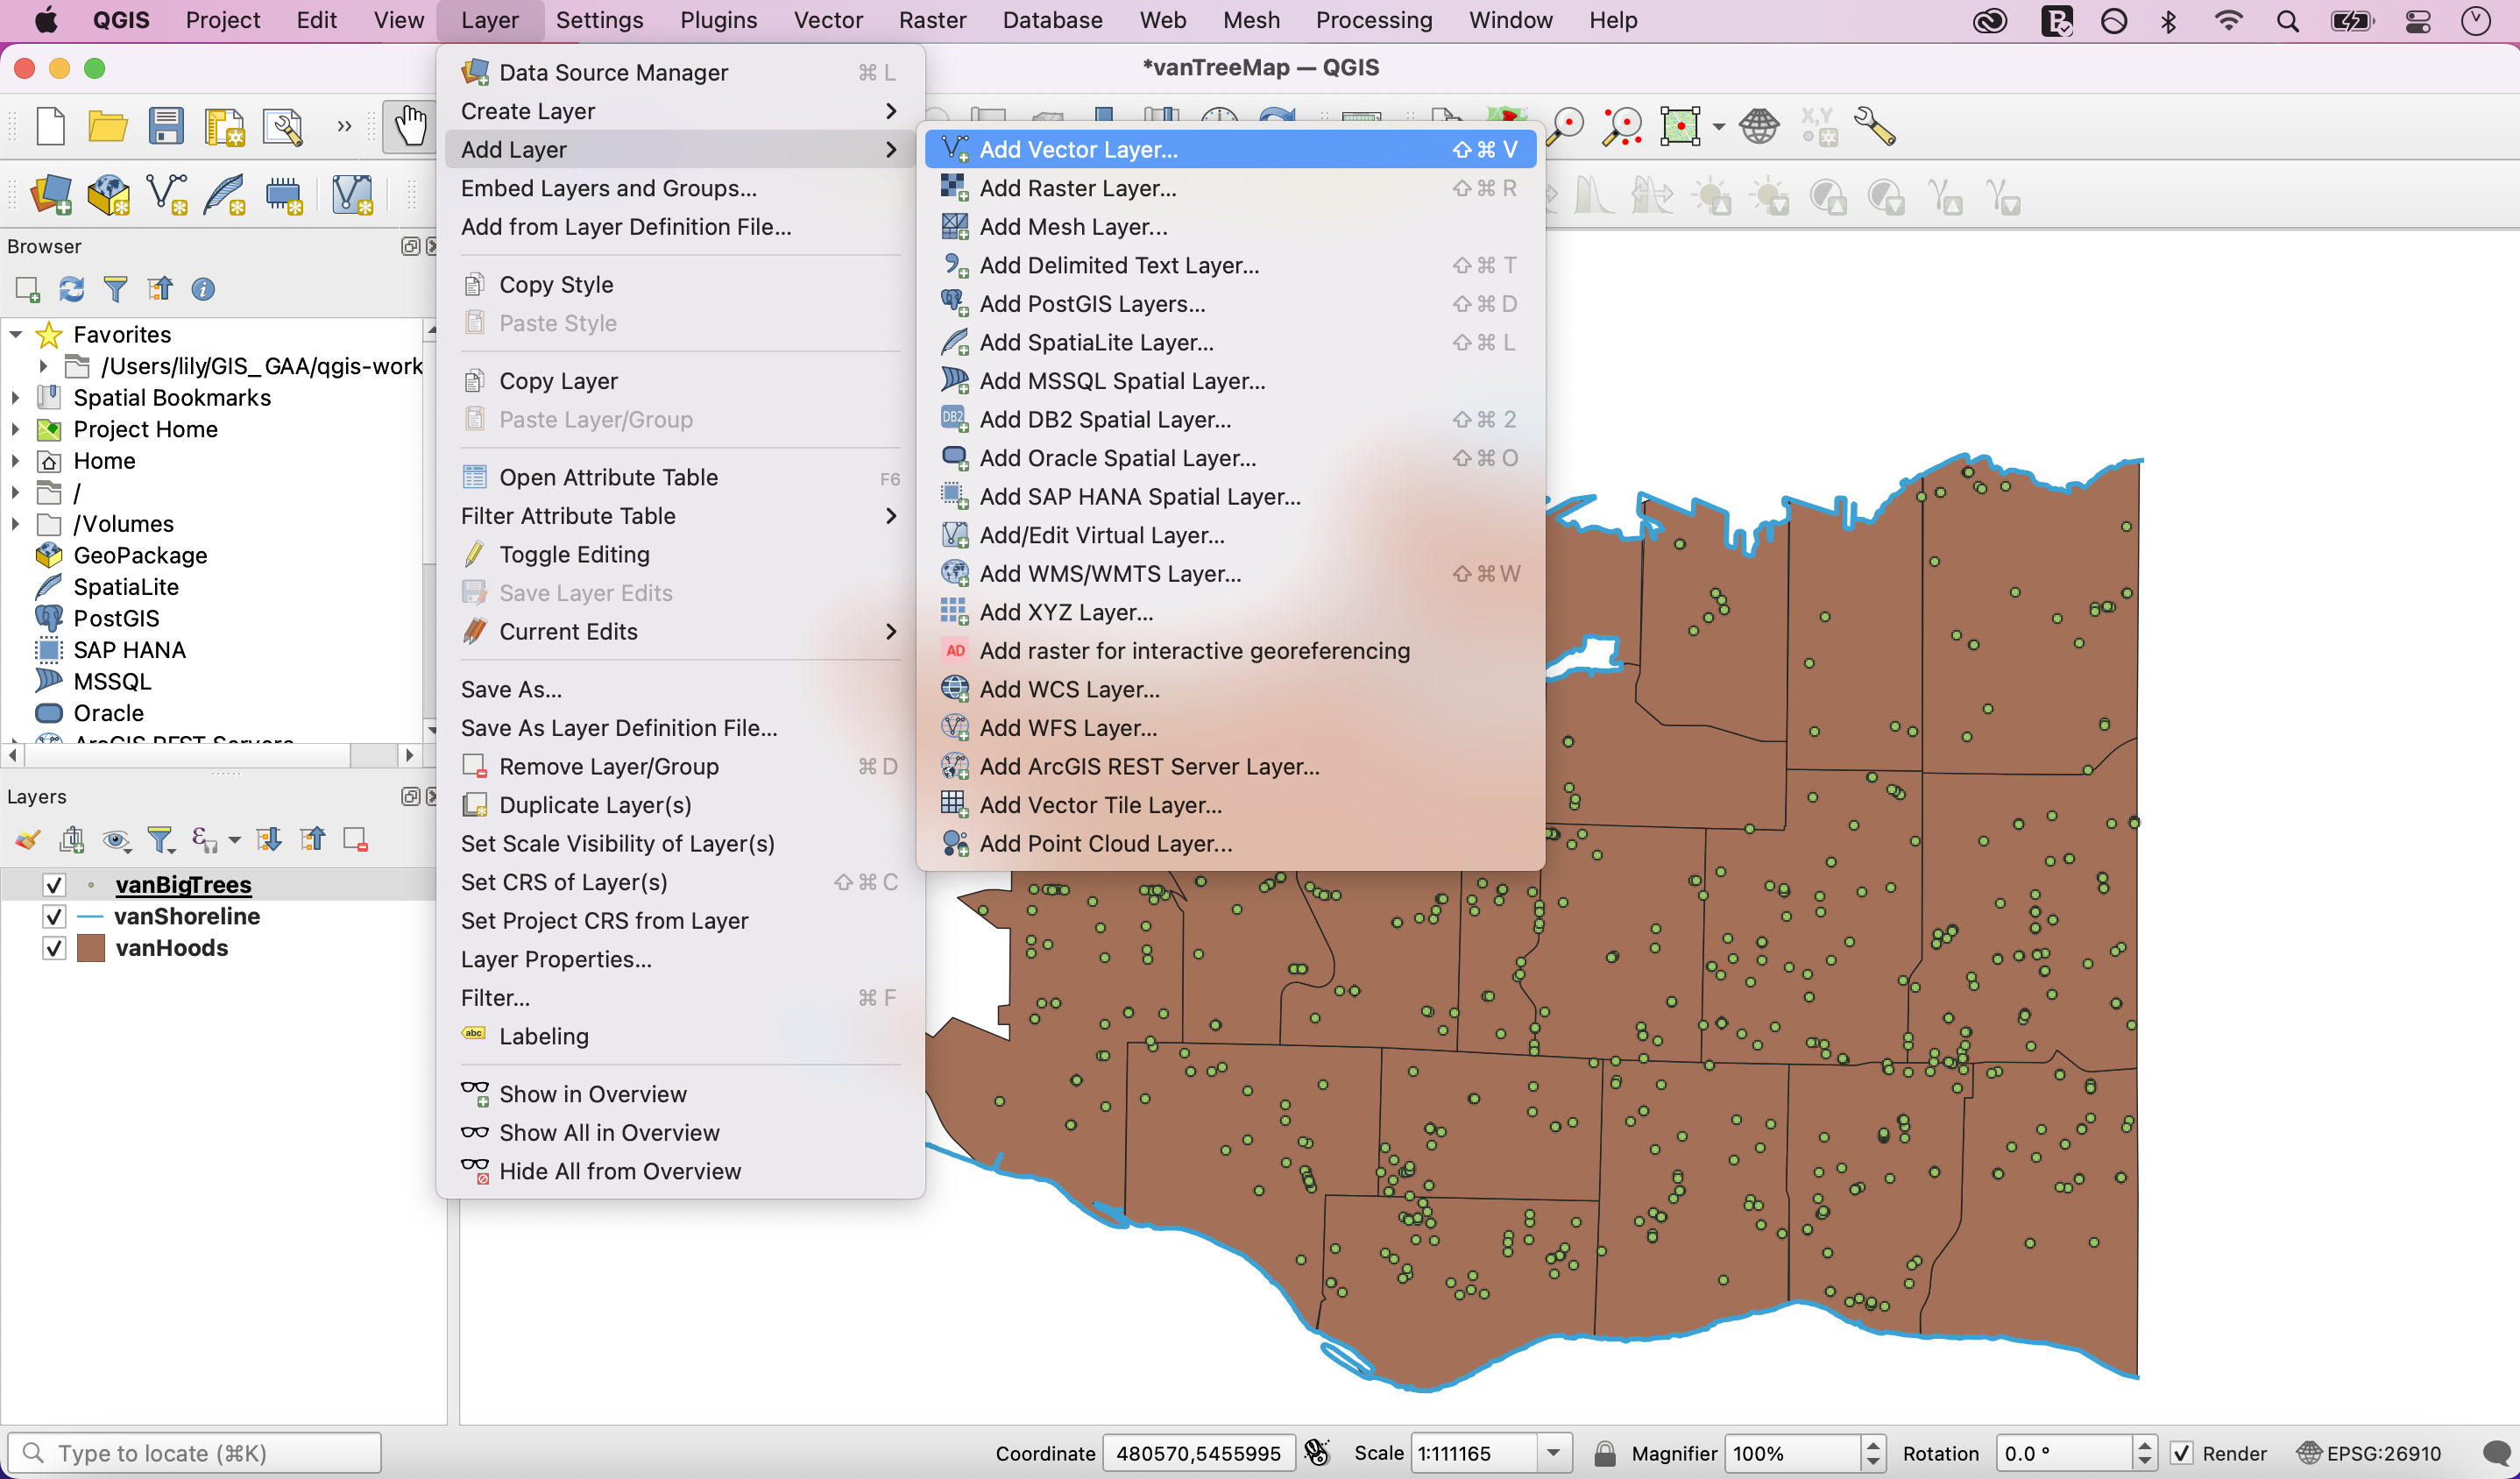
3. Layer Menu
A third way to add layers to your map canvas is through the Layer button at the top of your page. Under Layer, navigate to Add Layer and select Add Vector Layer… . This will open the same Data Source Manager dialogue box as before.
There are often multiple ways to perform an action in QGIS. As you become familiar with the interface, you will find a workflow that suits you.
4. Drag & Drop
You can also drag and drop data layers from your data folder directly onto your map canvas. While a convenient method, it’s easy to forget where data layers are stored. Only drag and drop if you are working with few layers or your layers are stored in a single folder.
View workshop content in GitHub
Loading last updated date...